
For schools · Set up your school
Build your welcome packet
Build the email every new family gets when they enroll: start from a ready-made format, add your app badges, preview it on a phone, send yourself a test, and switch it on.
Jump to a part
Step by step
The same steps as the video, with what to look for on each screen. The orange box shows where to look.
Where welcome packets live
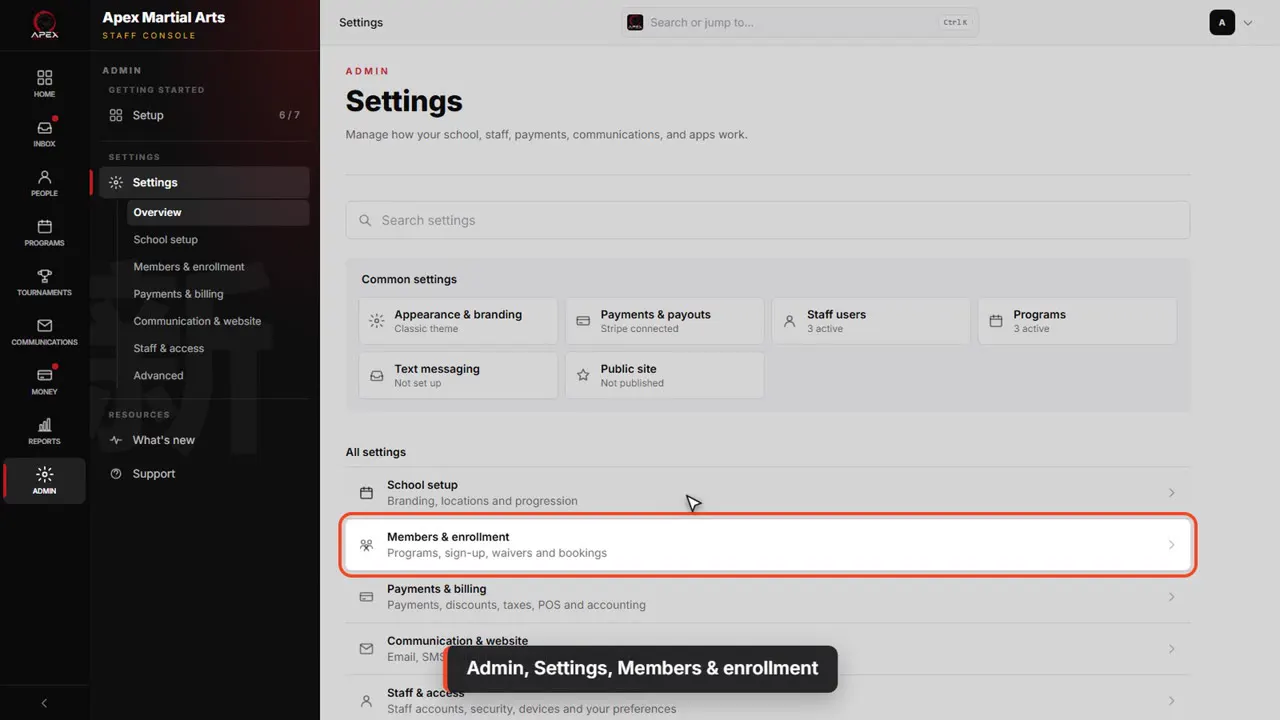
Admin, Settings, Members & enrollment
A welcome packet is the email every new family gets the moment they enroll. You find it in Admin, Settings, Members and enrollment.
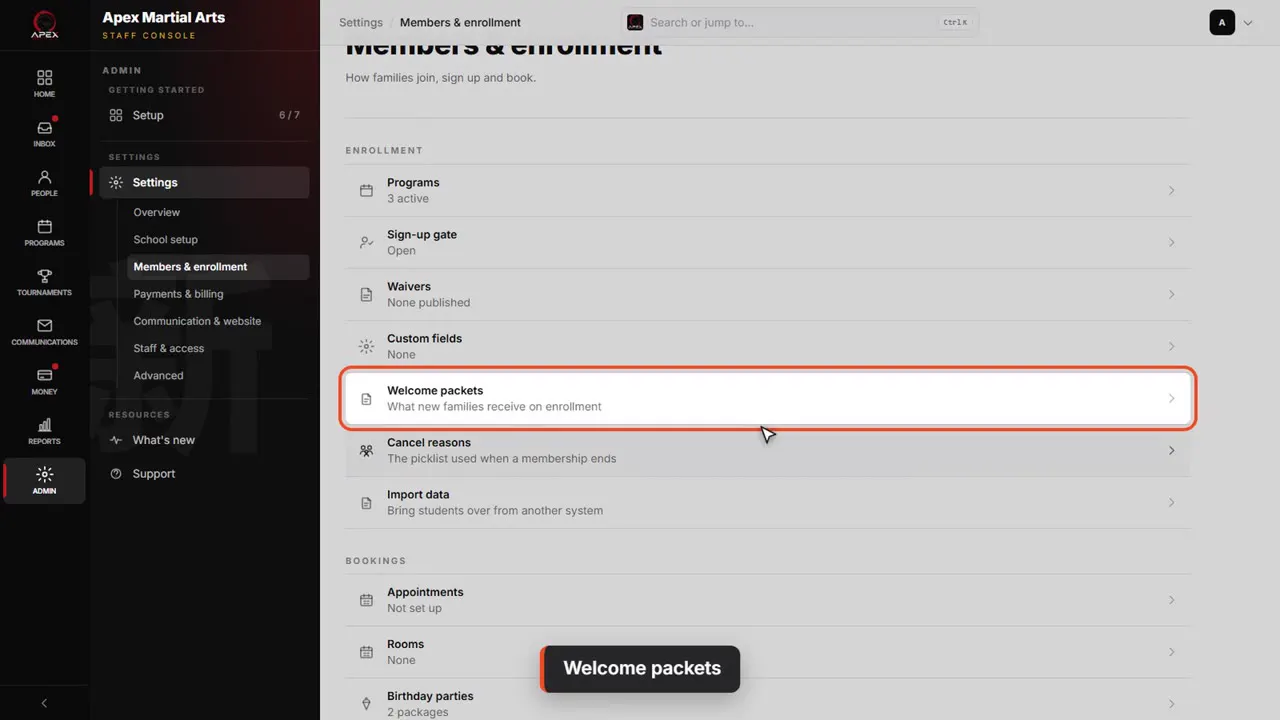
Welcome packets
Welcome packets is in this list. It says what new families receive.
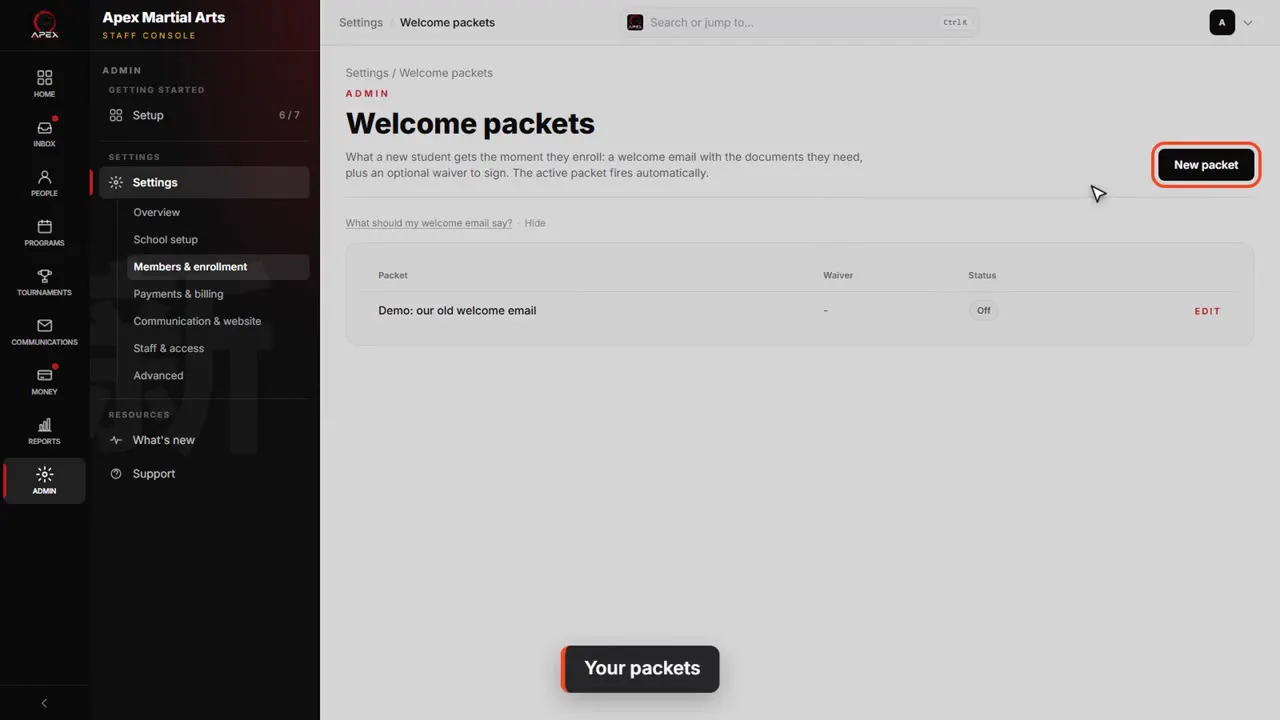
Your packets
Your packets are listed here, with which one is switched on. Click New packet to build one.
Pick a format
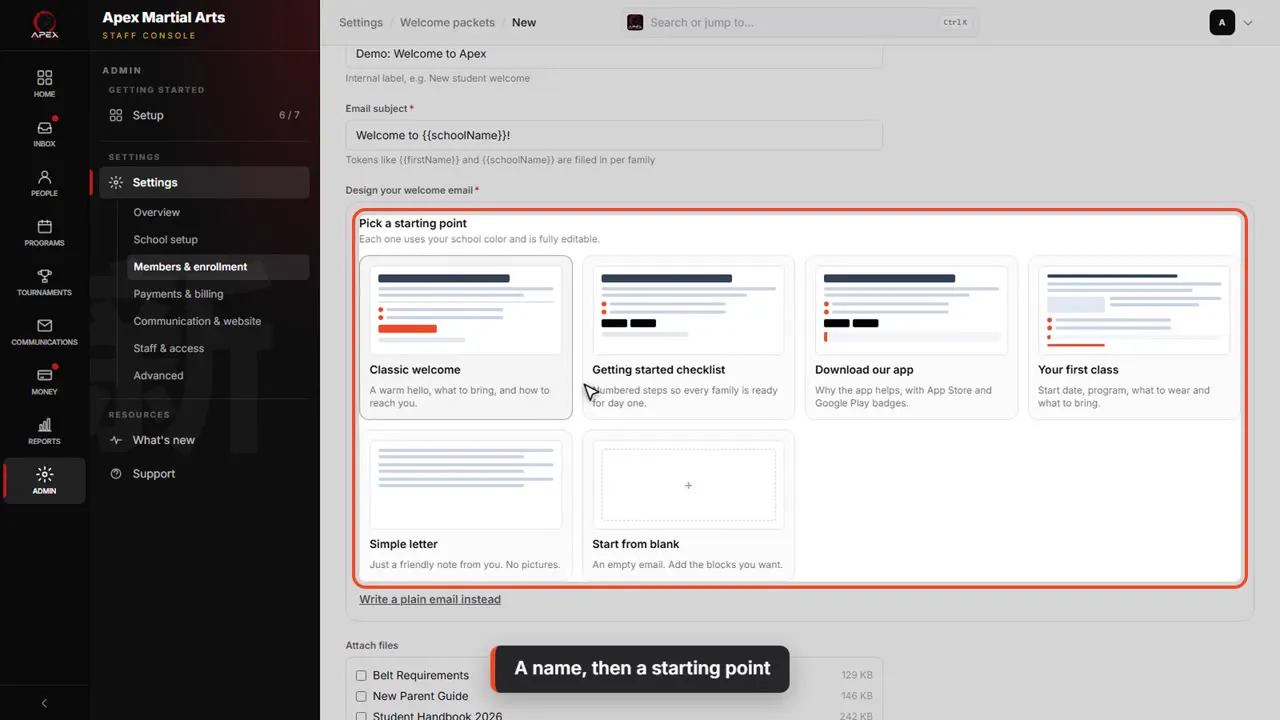
A name, then a starting point
Give the packet a name only you will see. Then pick a starting point: five ready-made formats, or start from blank.
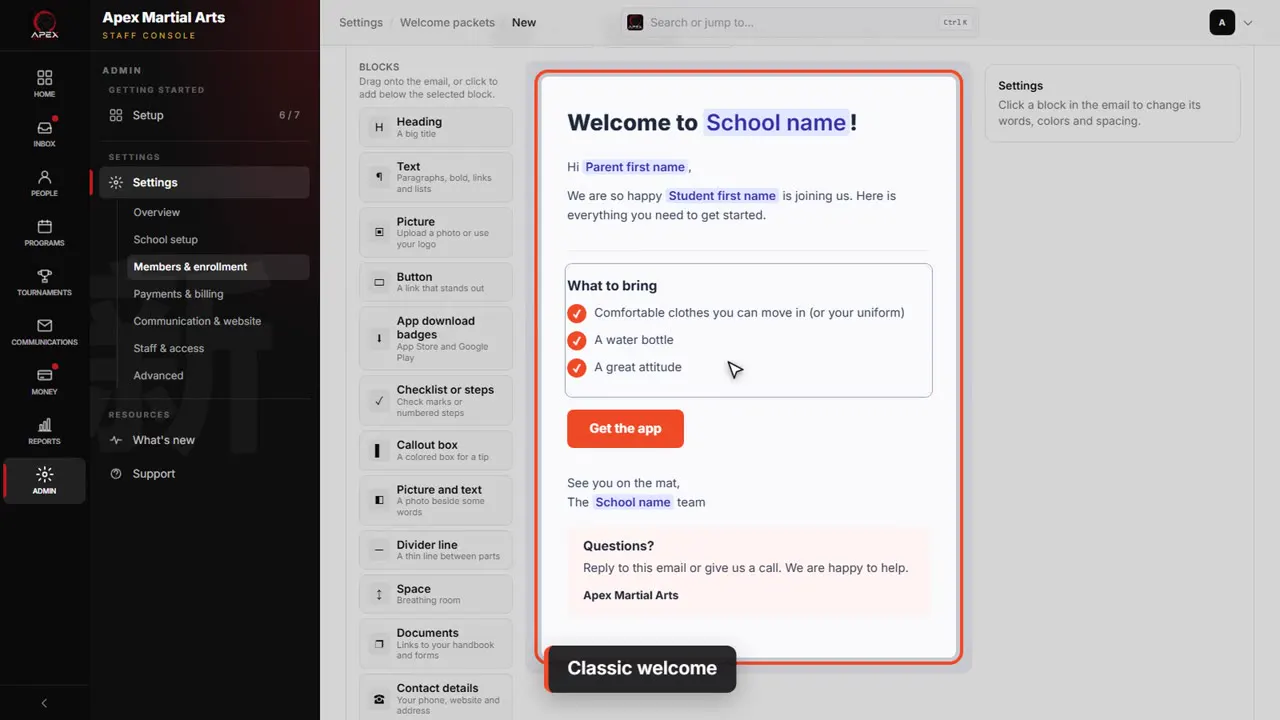
Classic welcome
We'll pick Classic welcome. It fills the email with friendly words, in your school's colors, and every part can be changed.
Add blocks
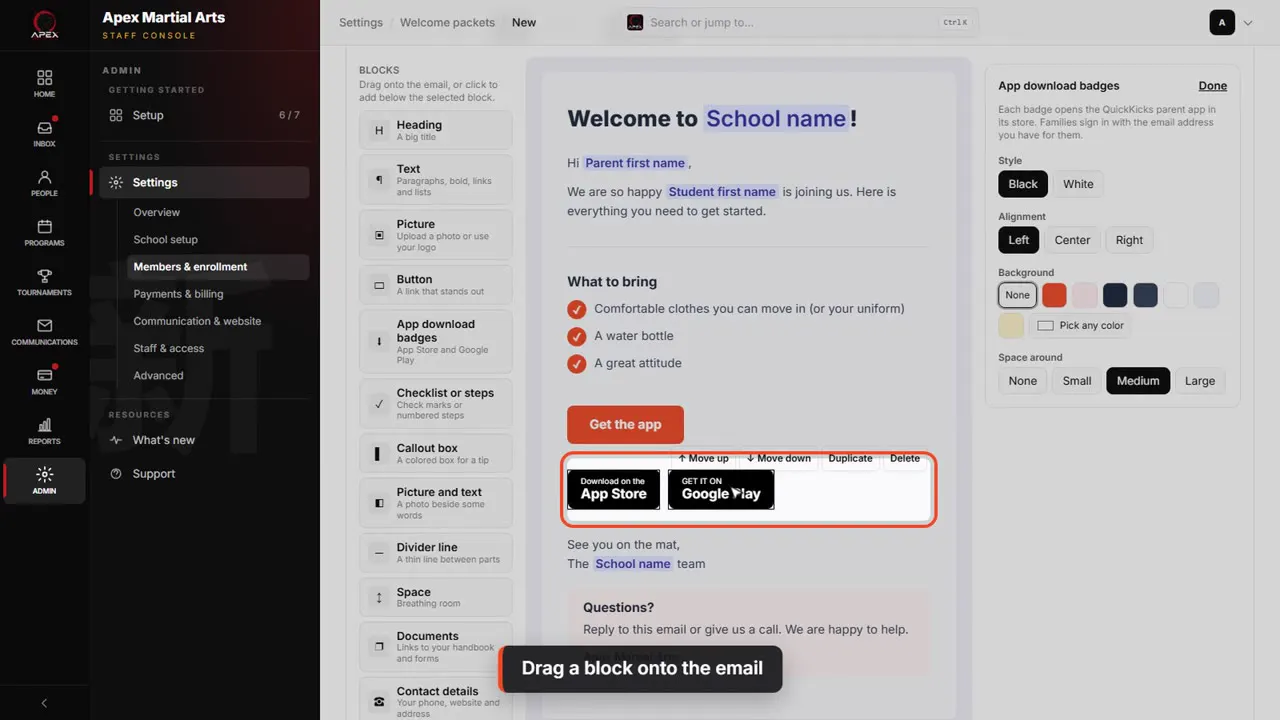
Drag a block onto the email
On the left are the blocks. Drag one onto the email, right where you want it. Here, the App Store and Google Play badges go under the button.
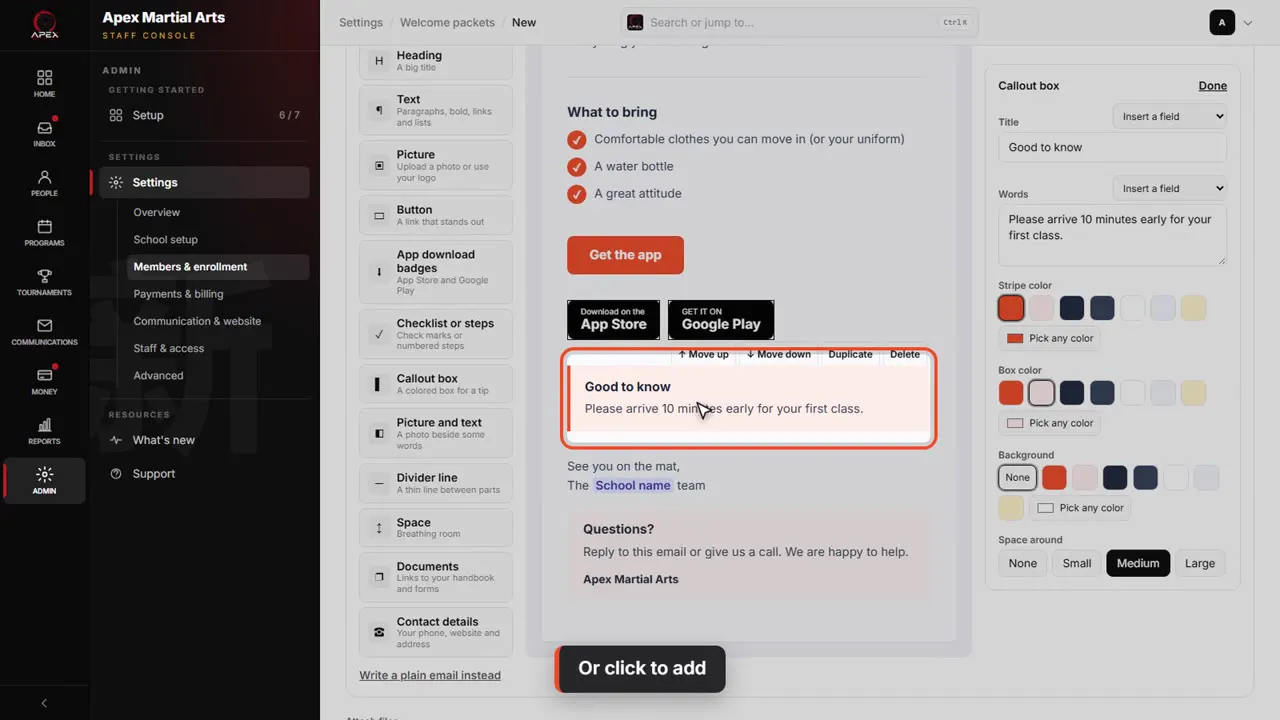
Or click to add
No need to drag: click a block, and it goes under the one you selected. Here is a callout box, for a tip.
Change a block
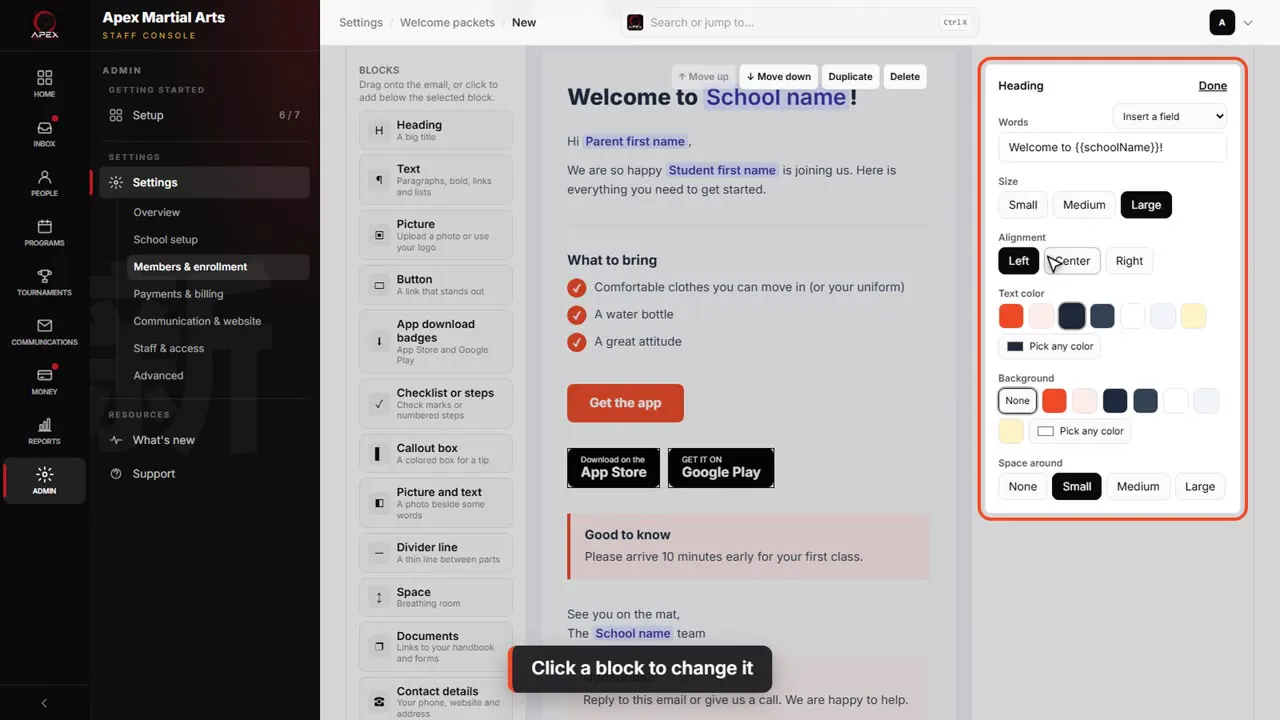
Click a block to change it
Click any block in the email. Its settings open on the right: its words, alignment, colors, and the space around it.
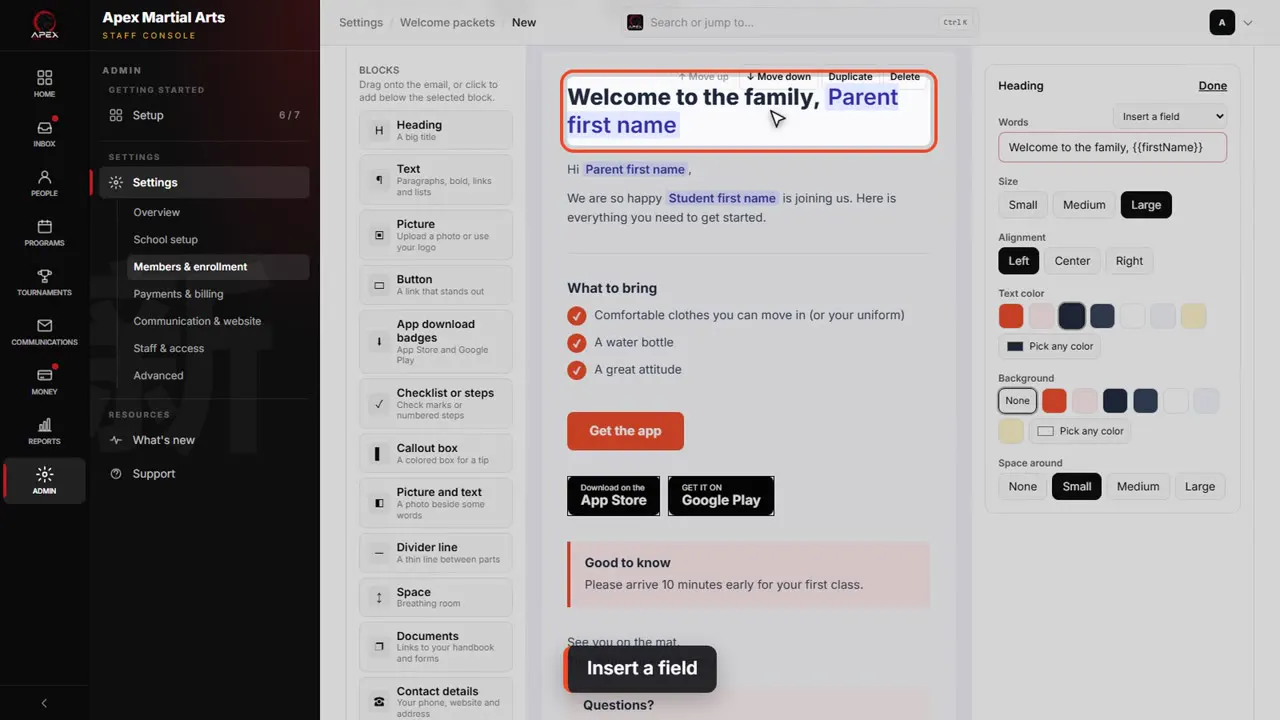
Insert a field
Change the words here. Insert a field adds something that's filled in for each family, like the parent's first name.
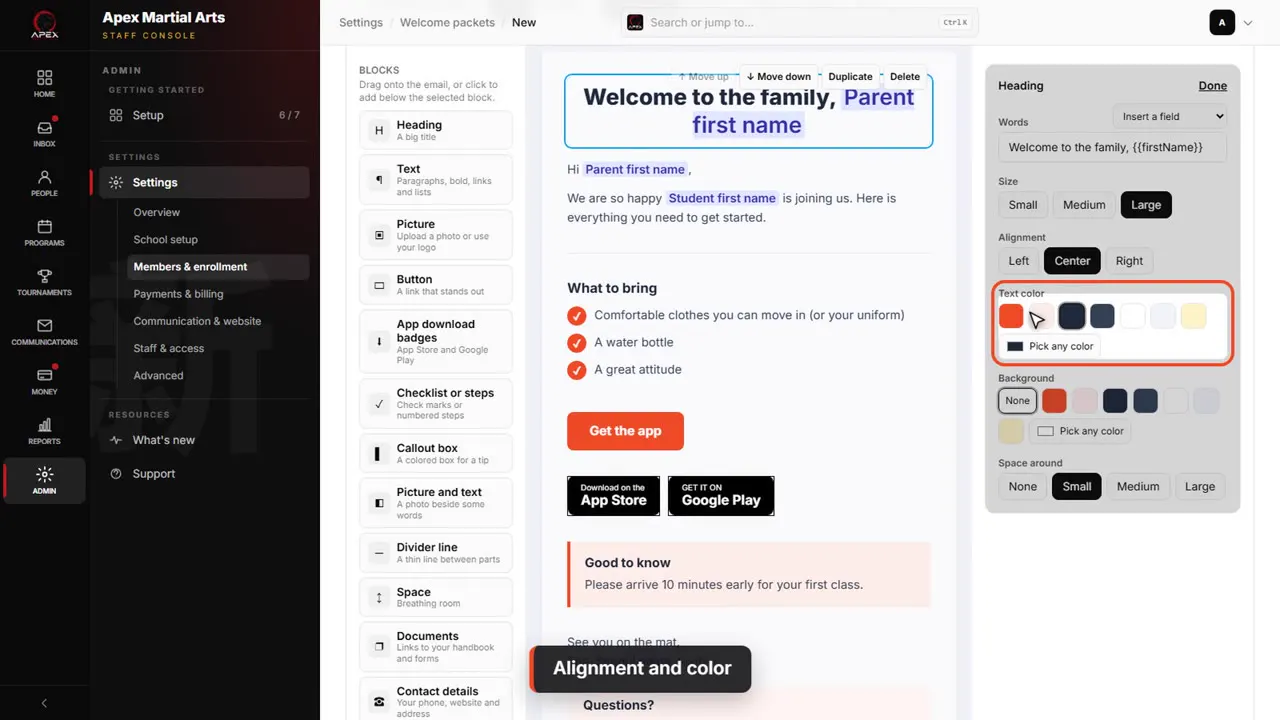
Alignment and color
Center it, and pick a color. Your school's own colors come first.
Move, copy and delete
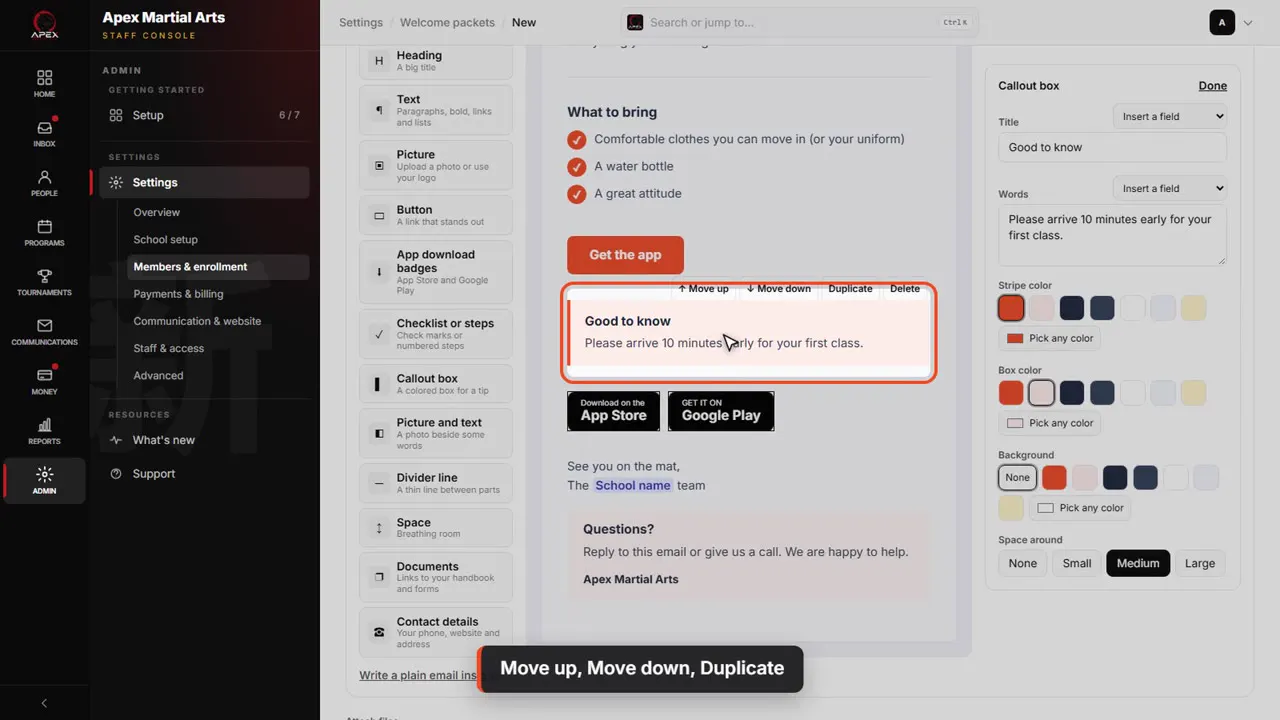
Move up, Move down, Duplicate
The buttons above a selected block move it up or down, or make a copy. Move the callout up, above the badges.
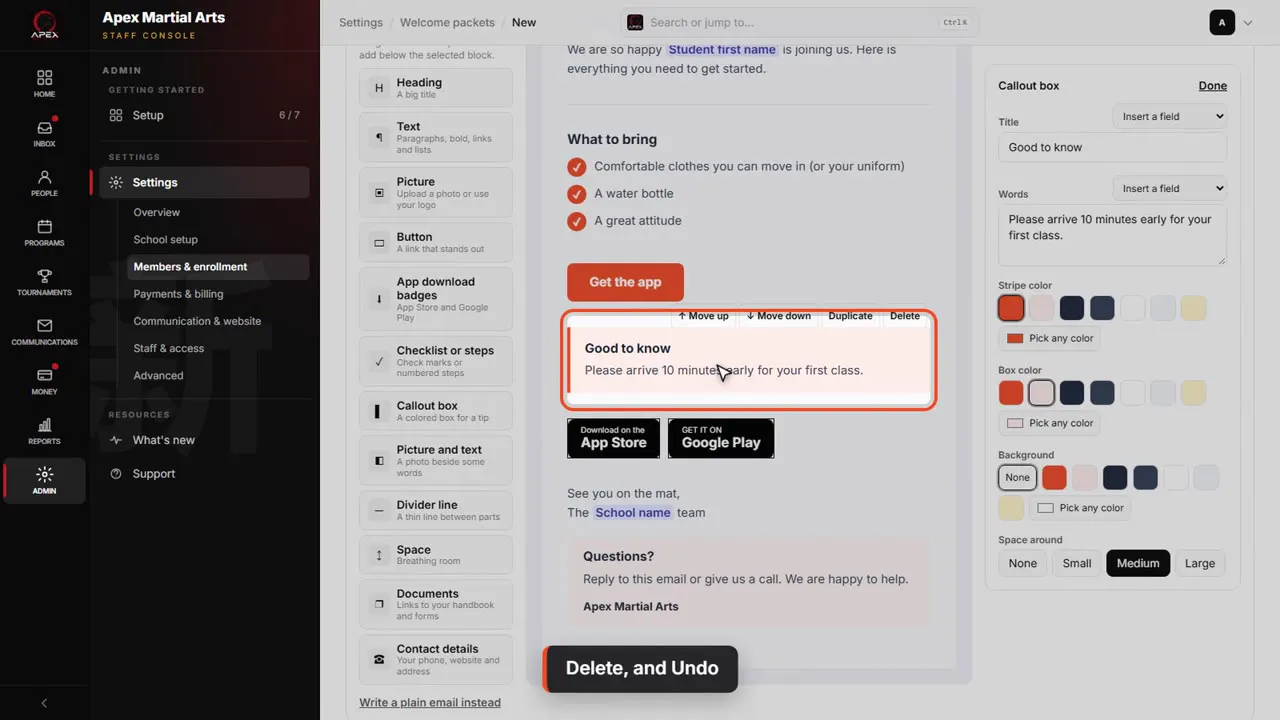
Delete, and Undo
Delete removes a block. Removed one by mistake? Click Undo, and it comes back.
Preview and test
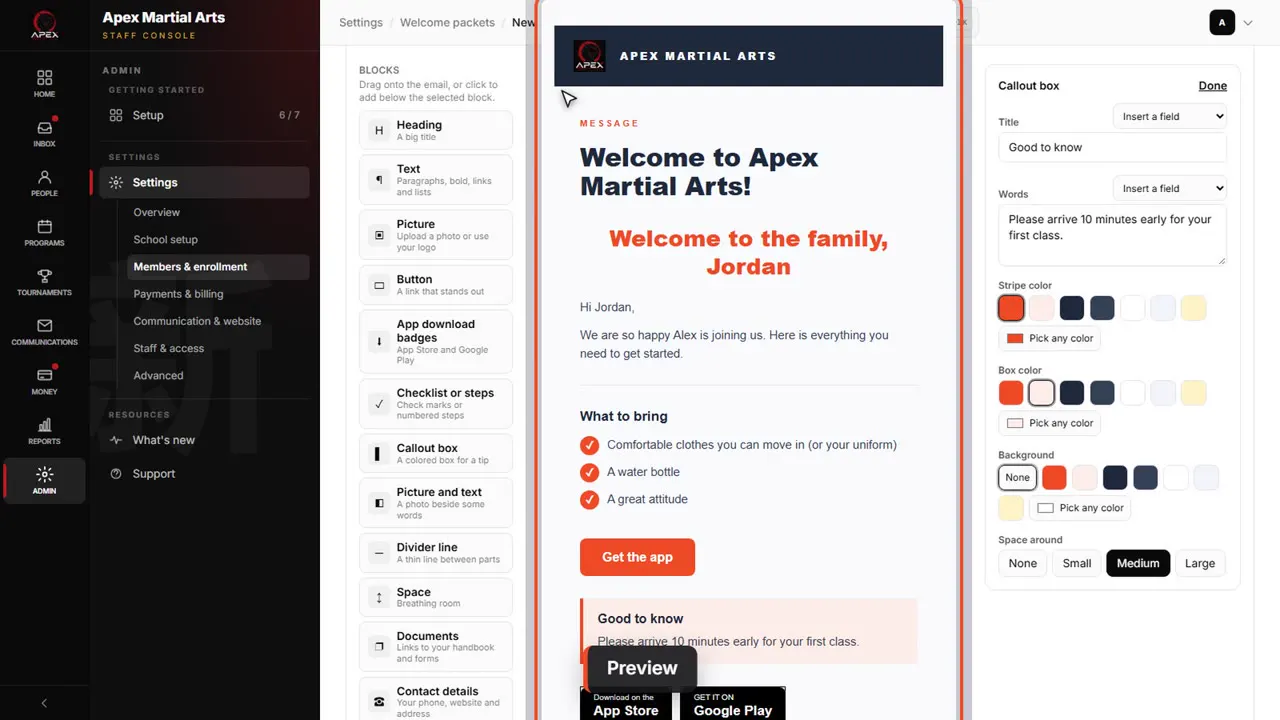
Preview
Click Preview to see the whole email the way families get it, with sample names in the fields.
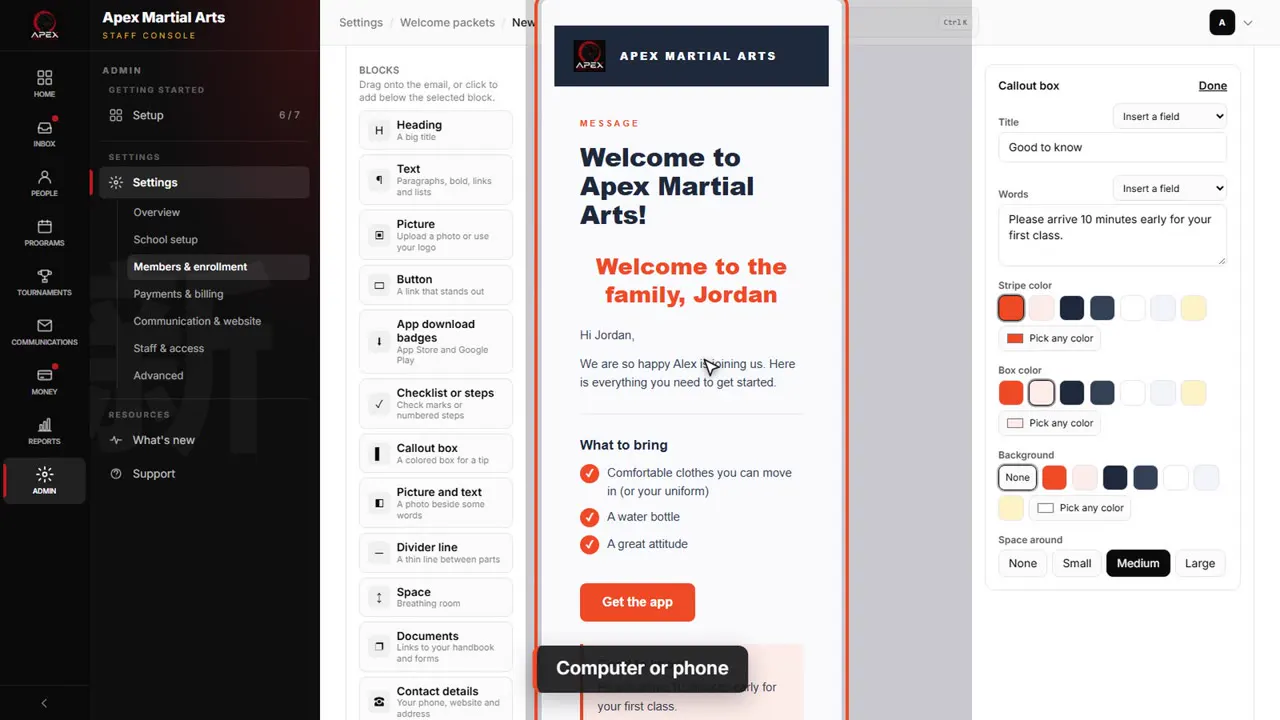
Computer or phone
Switch to Phone to check it on a small screen.
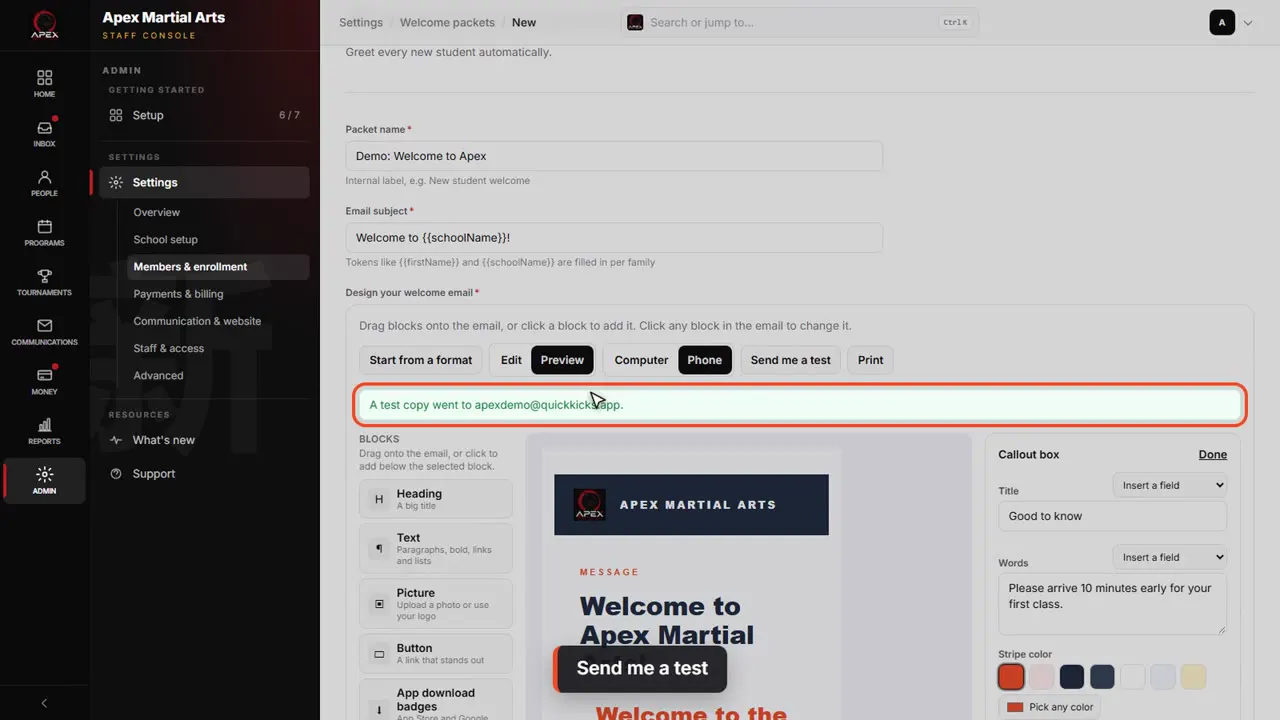
Send me a test
Send me a test emails it to you, with sample names filled in, so you can see it in your own inbox.
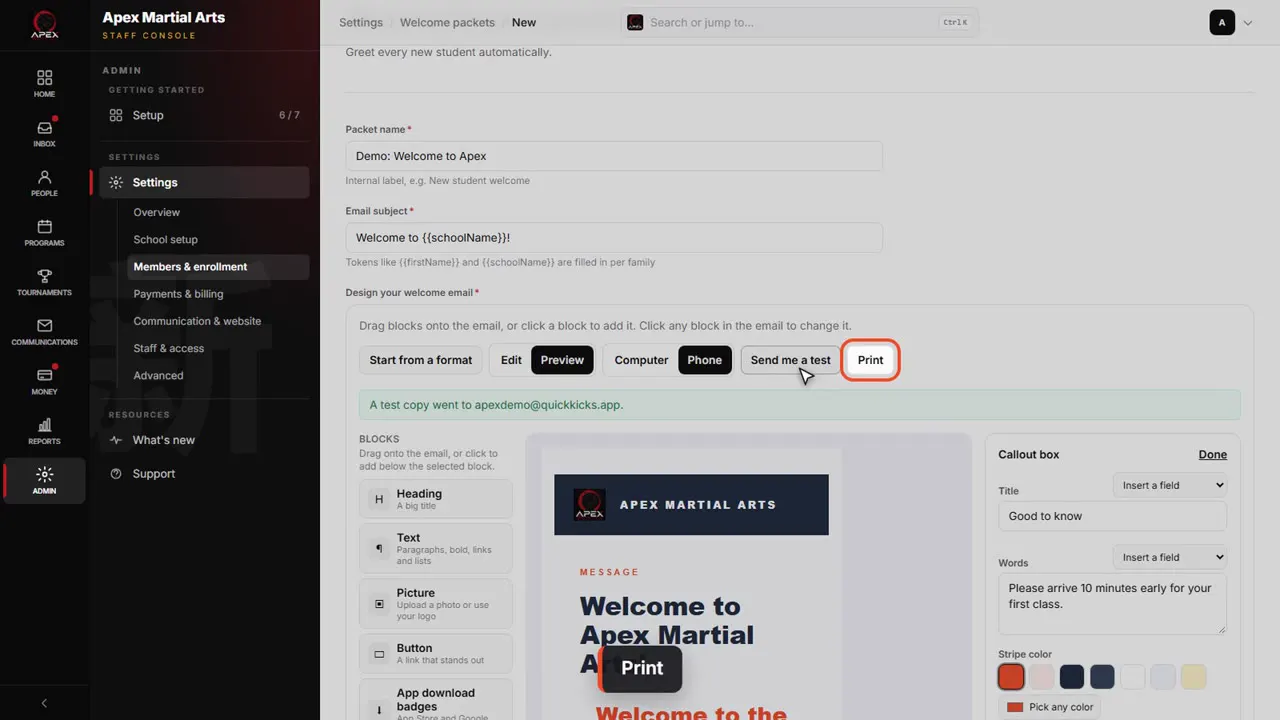
Print
Print makes a paper copy to hand out at the desk, with blank lines for each family's name.
Save it
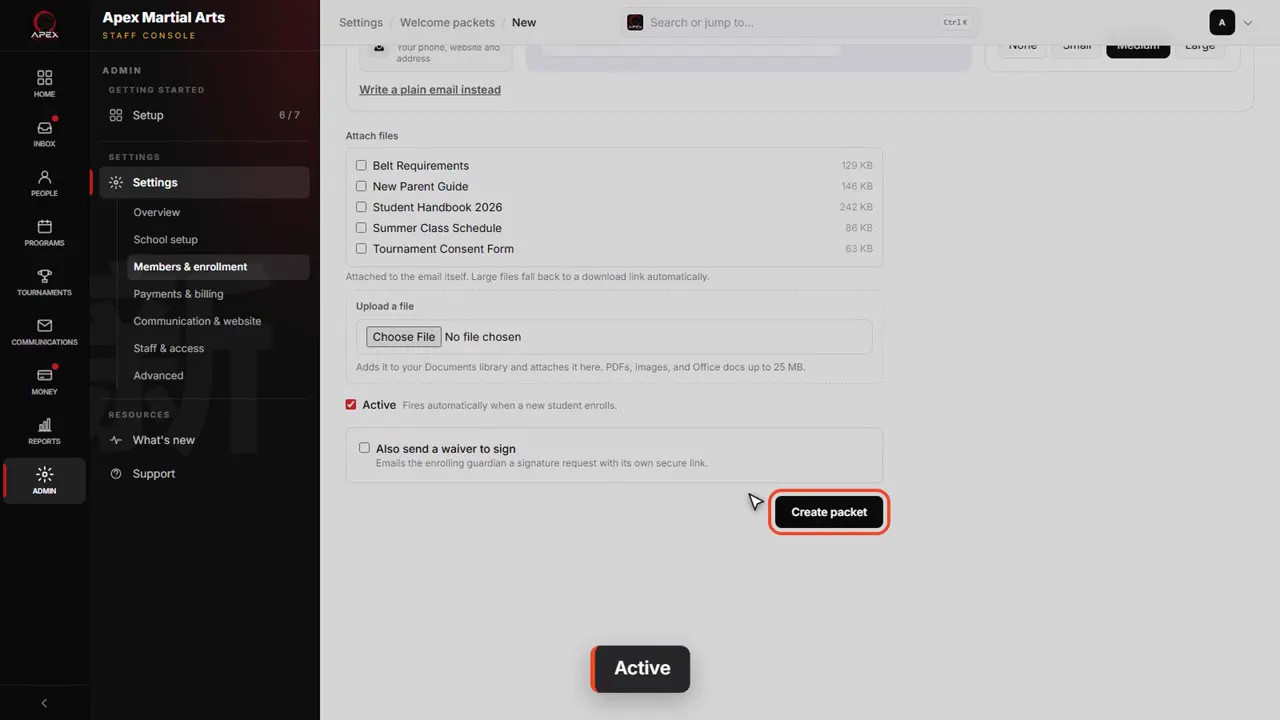
Active
Active means the packet goes out by itself whenever a new family enrolls. Save an active packet, and it becomes your default: the one that's sent.
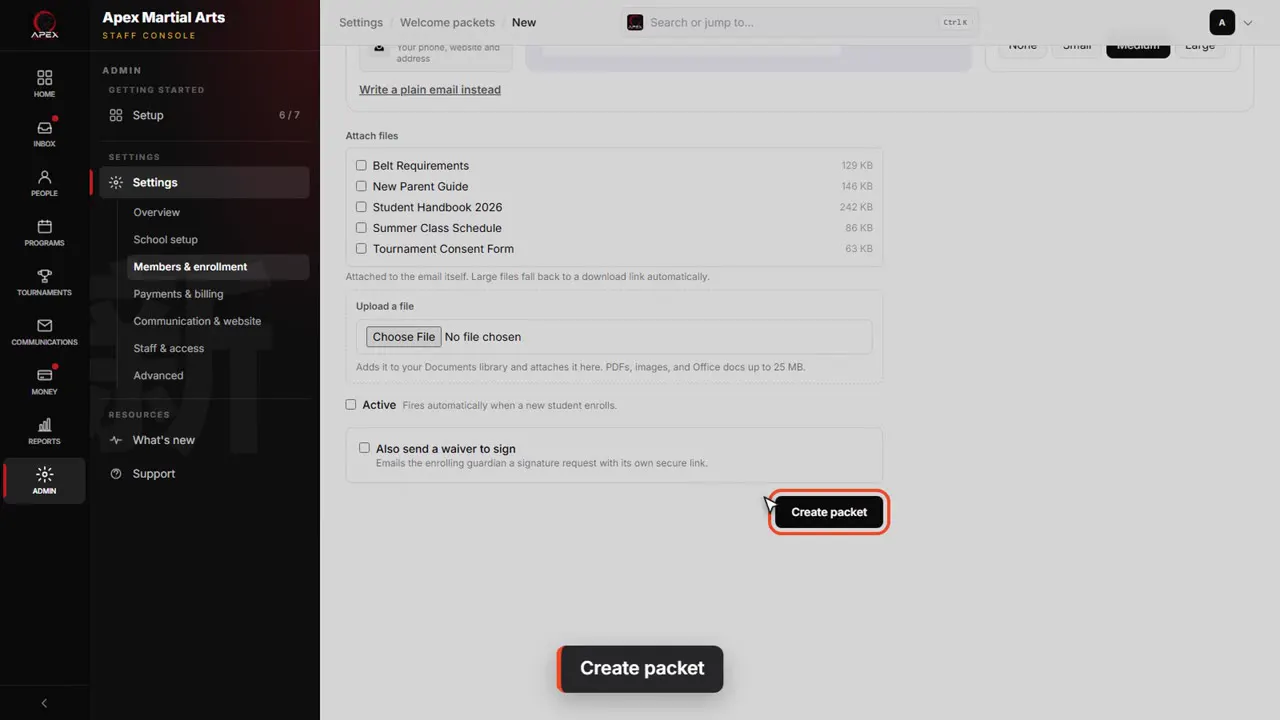
Create packet
This one is only a demo, so we switch Active off before we save. Then it can't replace the packet families get.
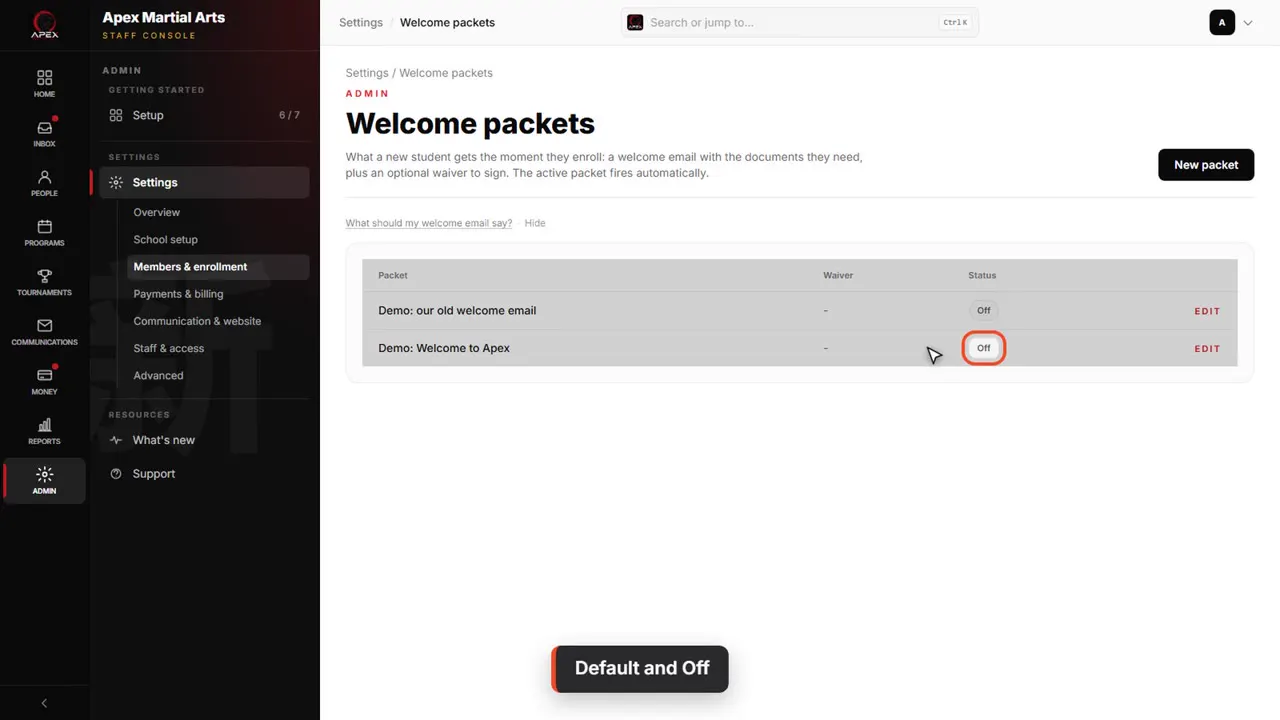
Default and Off
On the list, the packet that's sent says Default. Ours says Off, so nothing changes for families.
An older packet
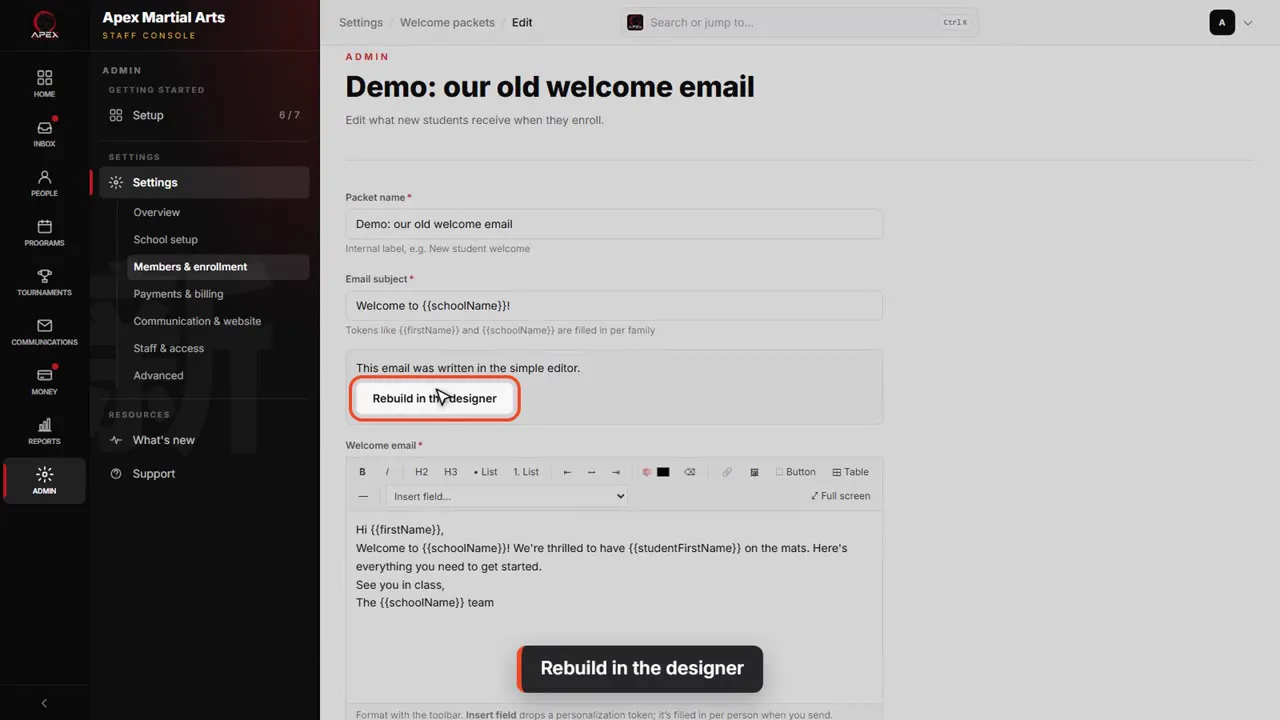
Rebuild in the designer
A packet written before the designer opens in the simple editor. Click Rebuild in the designer.
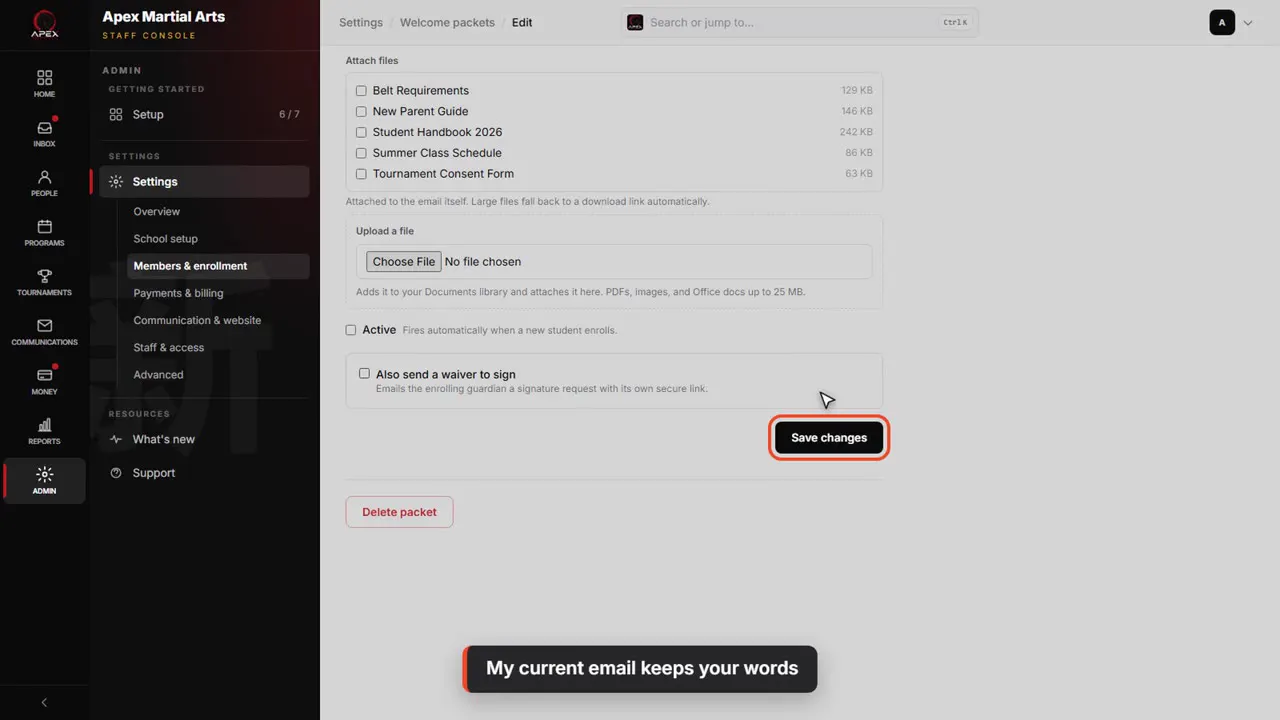
My current email keeps your words
Pick My current email. Your words come across as they are, ready for buttons, pictures and app badges. Nothing changes until you save.
Shown with a demo school. Your screens show your own school, and may look a little different.
Read the whole video as text
In this video you'll build your welcome packet: the email every new family gets the moment they enroll.
A welcome packet is the email every new family gets the moment they enroll. You find it in Admin, Settings, Members and enrollment.
Welcome packets is in this list. It says what new families receive.
Your packets are listed here, with which one is switched on. Click New packet to build one.
Give the packet a name only you will see. Then pick a starting point: five ready-made formats, or start from blank.
We'll pick Classic welcome. It fills the email with friendly words, in your school's colors, and every part can be changed.
On the left are the blocks. Drag one onto the email, right where you want it. Here, the App Store and Google Play badges go under the button.
No need to drag: click a block, and it goes under the one you selected. Here is a callout box, for a tip.
Click any block in the email. Its settings open on the right: its words, alignment, colors, and the space around it.
Change the words here. Insert a field adds something that's filled in for each family, like the parent's first name.
Center it, and pick a color. Your school's own colors come first.
The buttons above a selected block move it up or down, or make a copy. Move the callout up, above the badges.
Delete removes a block. Removed one by mistake? Click Undo, and it comes back.
Click Preview to see the whole email the way families get it, with sample names in the fields.
Switch to Phone to check it on a small screen.
Send me a test emails it to you, with sample names filled in, so you can see it in your own inbox.
Print makes a paper copy to hand out at the desk, with blank lines for each family's name.
Active means the packet goes out by itself whenever a new family enrolls. Save an active packet, and it becomes your default: the one that's sent.
This one is only a demo, so we switch Active off before we save. Then it can't replace the packet families get.
On the list, the packet that's sent says Default. Ours says Off, so nothing changes for families.
A packet written before the designer opens in the simple editor. Click Rebuild in the designer.
Pick My current email. Your words come across as they are, ready for buttons, pictures and app badges. Nothing changes until you save.
That's your welcome packet. Every new family is greeted the moment they join.
Up next · Run your day
Add a new family
Add a student and the parent who pays in one form, set who to call in an emergency, and find the family page.
Watch next: Add a new familyBefore this: Get paid
Stuck?
In QuickKicks, open Admin, then Support (or Help, in the simpler menu), and send us a message. Or email hello@quickkicks.app.