
For schools · Set up your school
Set up your school
Find the Setup checklist, answer a few questions about your school, and see what each step is for. You don’t have to finish in one sitting.
Jump to a part
Step by step
The same steps as the video, with what to look for on each screen. The orange box shows where to look.
Where setup lives
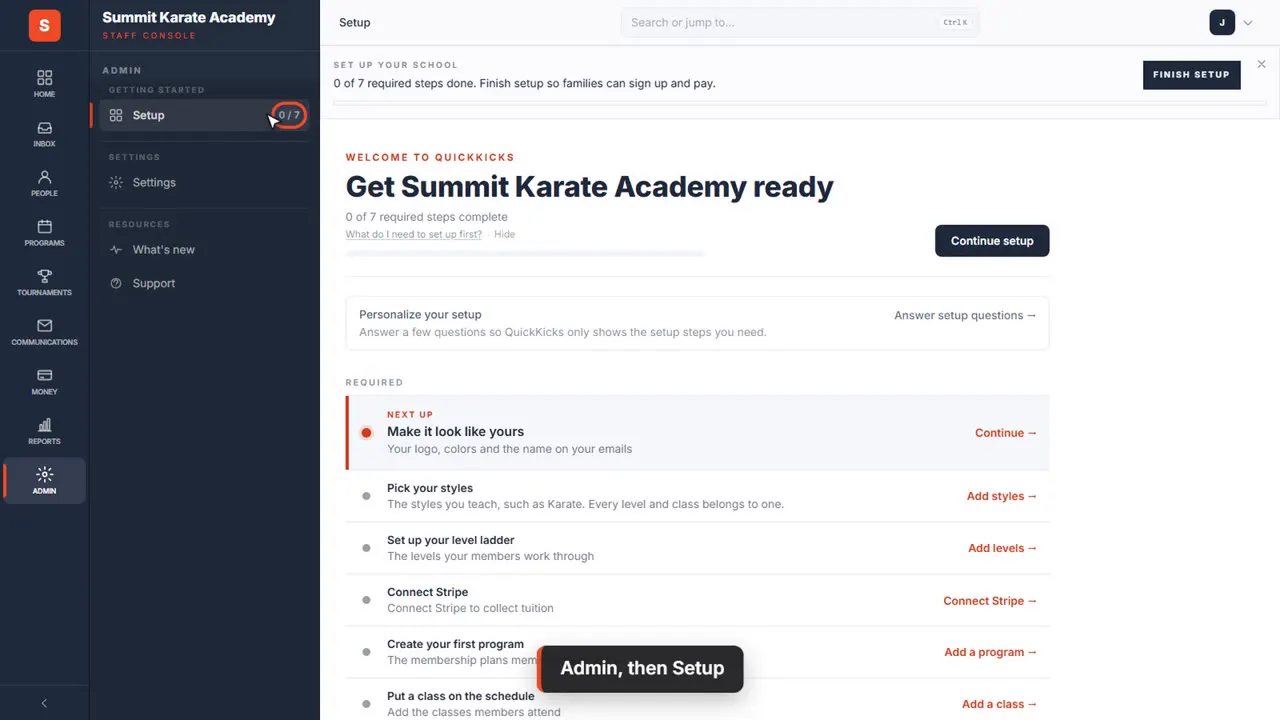
Admin, then Setup
Setup lives under Admin. Click Admin, then Setup. The number beside it counts the required steps you've finished.
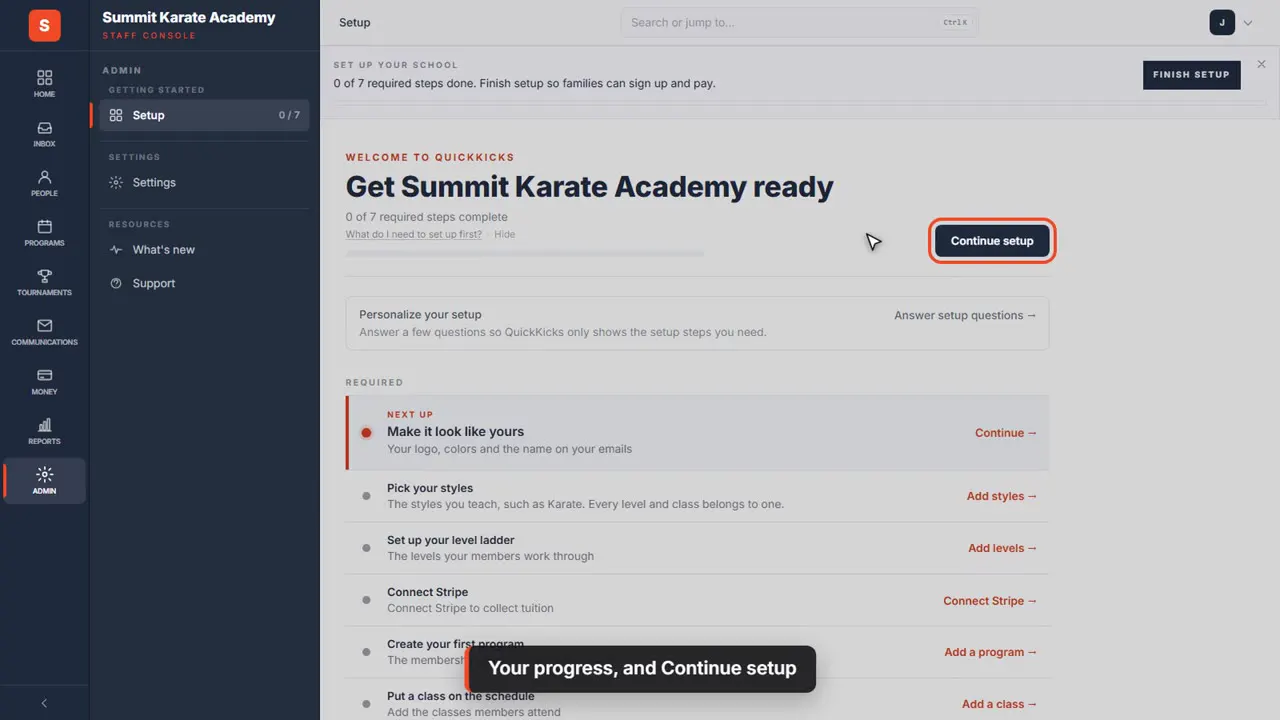
Your progress, and Continue setup
At the top, how many required steps are done. Continue setup always opens the next one.
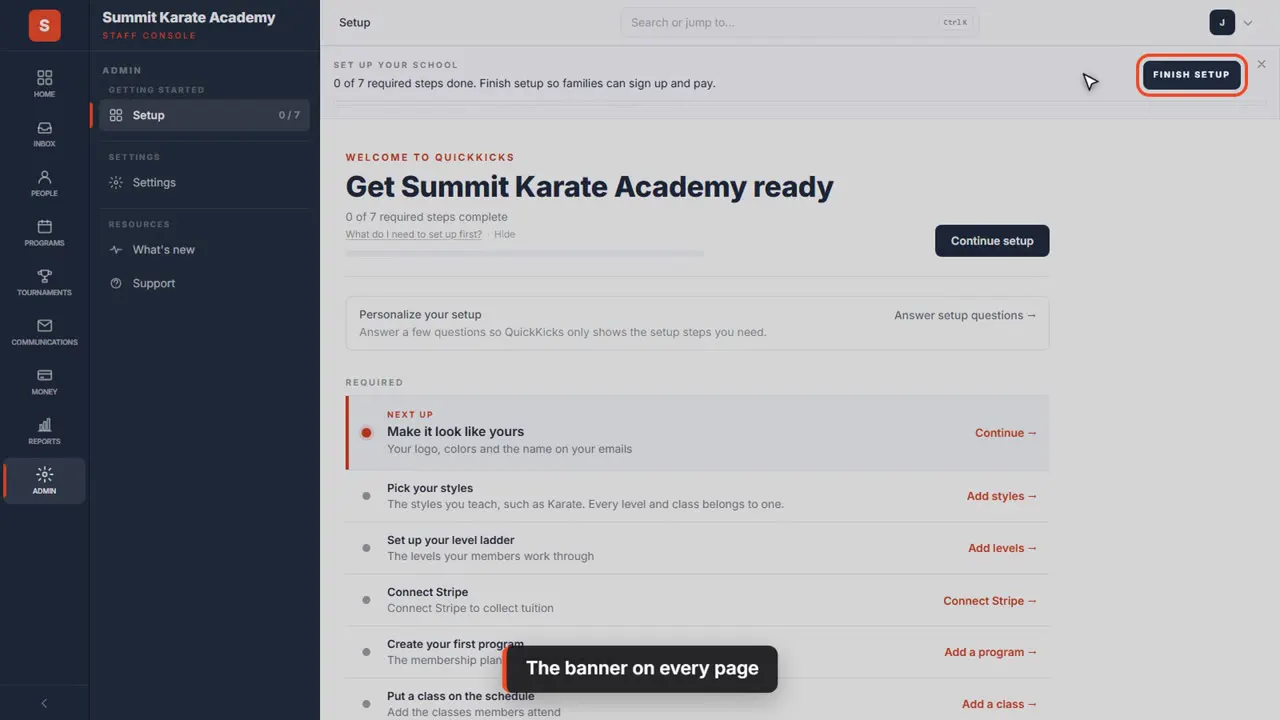
The banner on every page
Until setup is finished, this banner sits across the top of every page. Finish setup brings you back here.
The setup questions
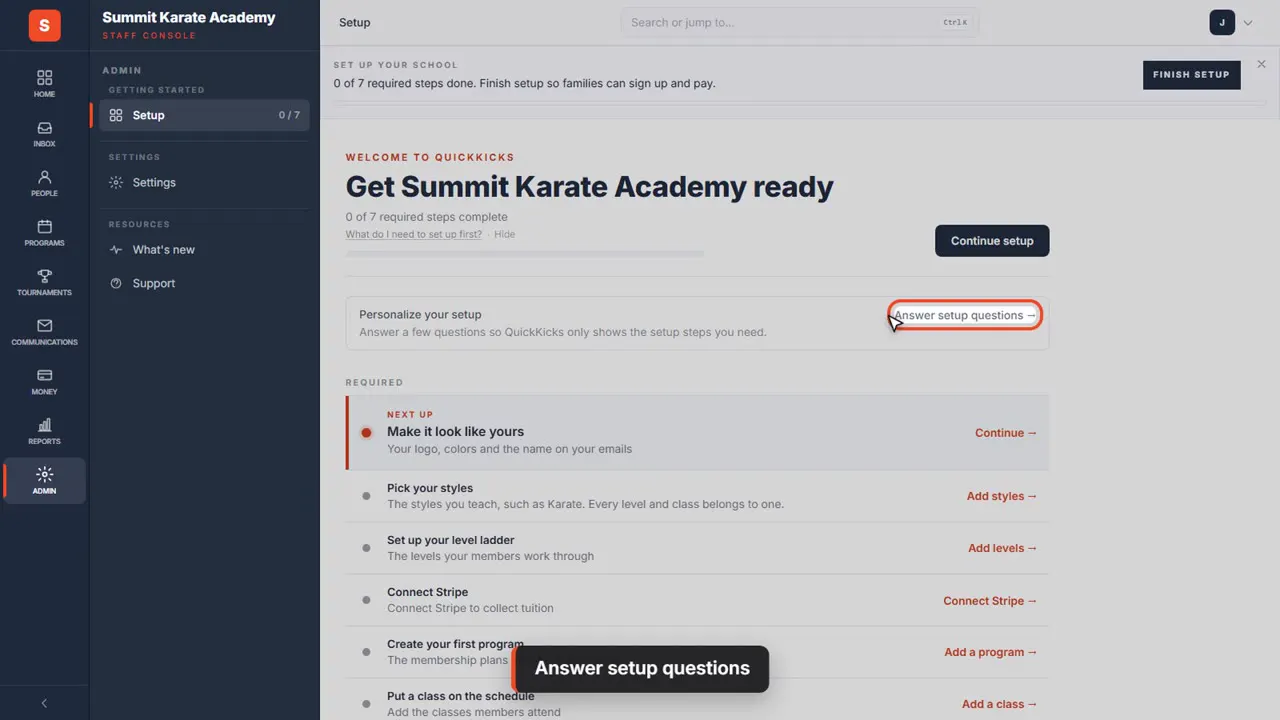
Answer setup questions
Start with the setup questions. Your answers decide which steps you need, so the checklist only shows those.
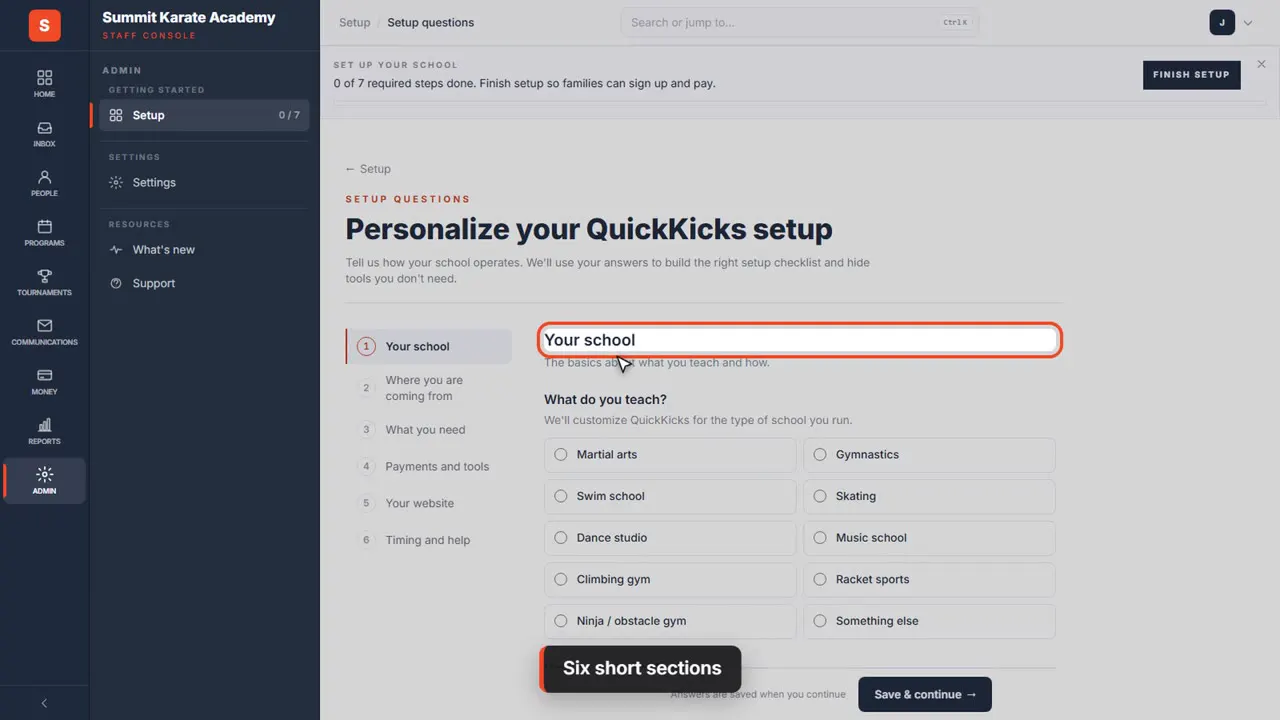
Six short sections
There are six short sections. We'll answer the first one, Your school.
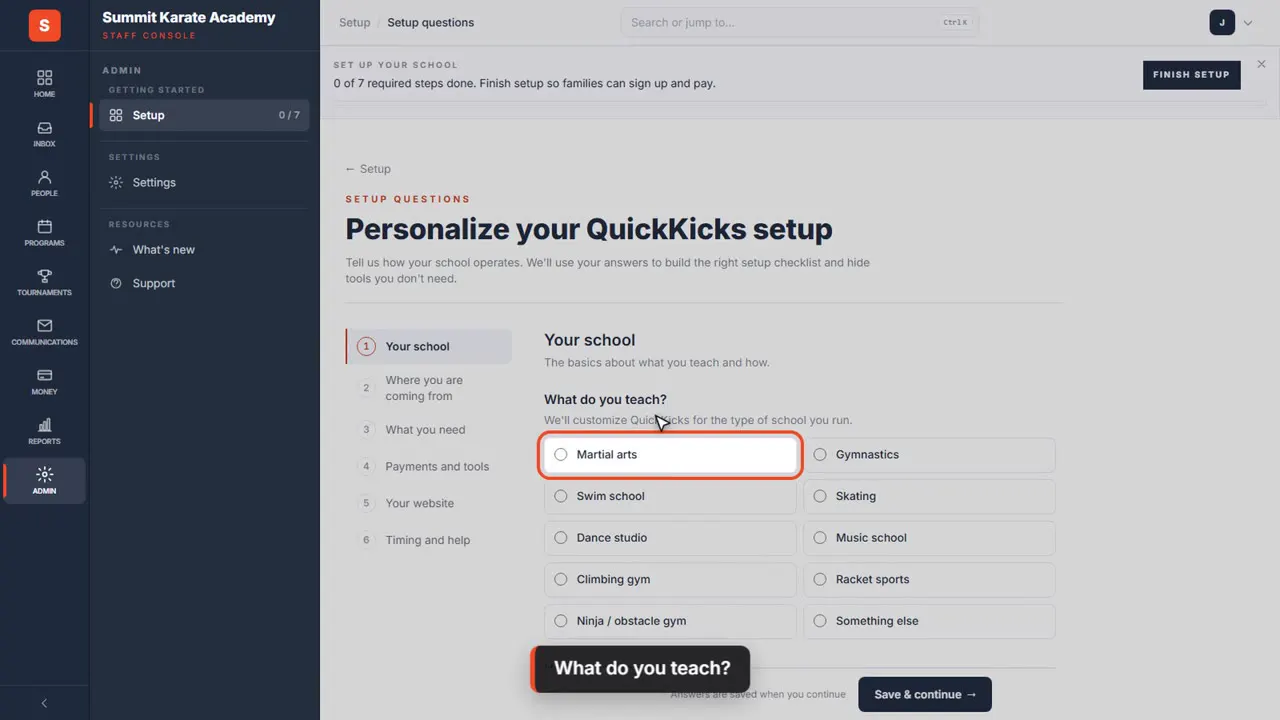
What do you teach?
What do you teach? Martial arts. That sets the words QuickKicks uses everywhere: belts, students and disciplines.
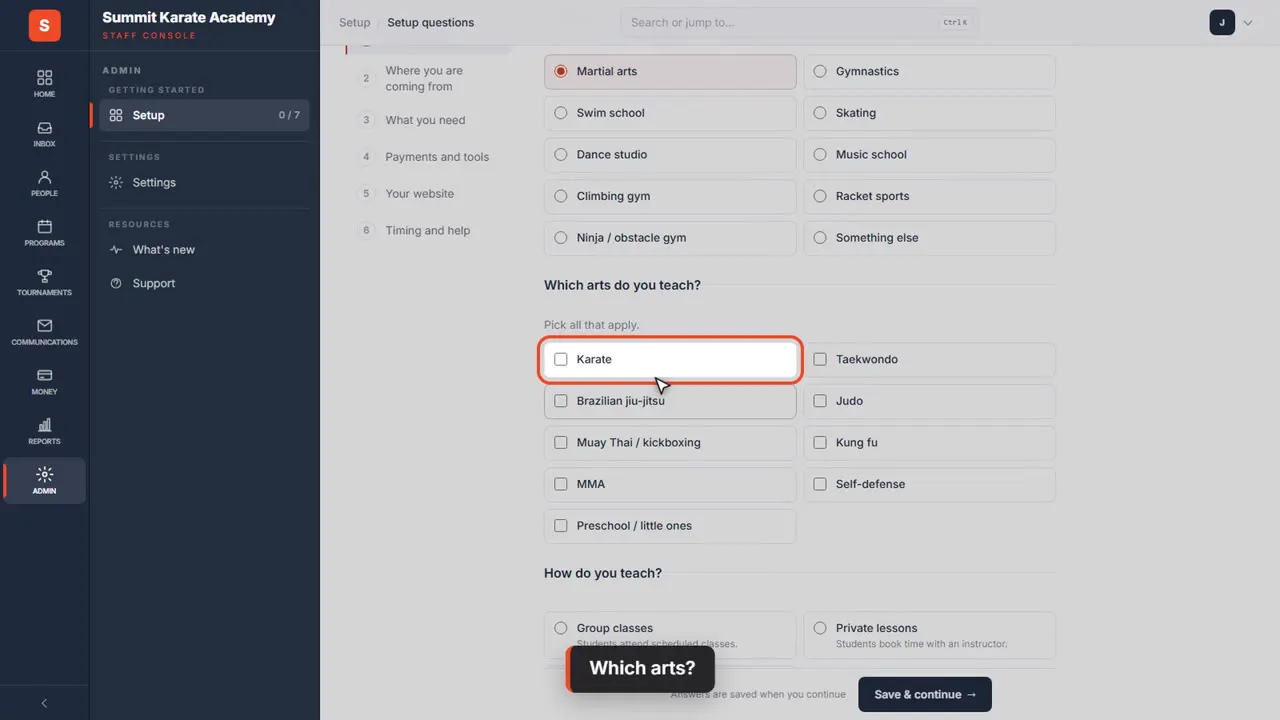
Which arts?
Then which arts you teach. Summit teaches karate.
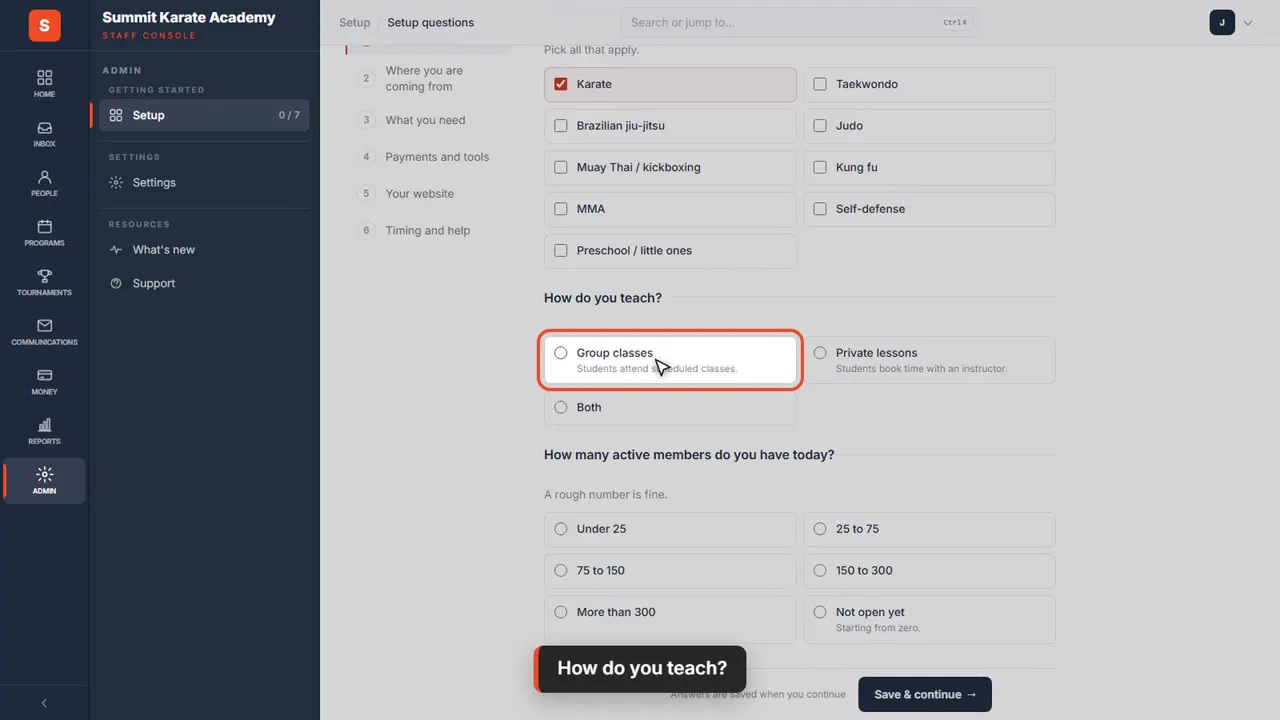
How do you teach?
Next, how you teach. Summit runs group classes.
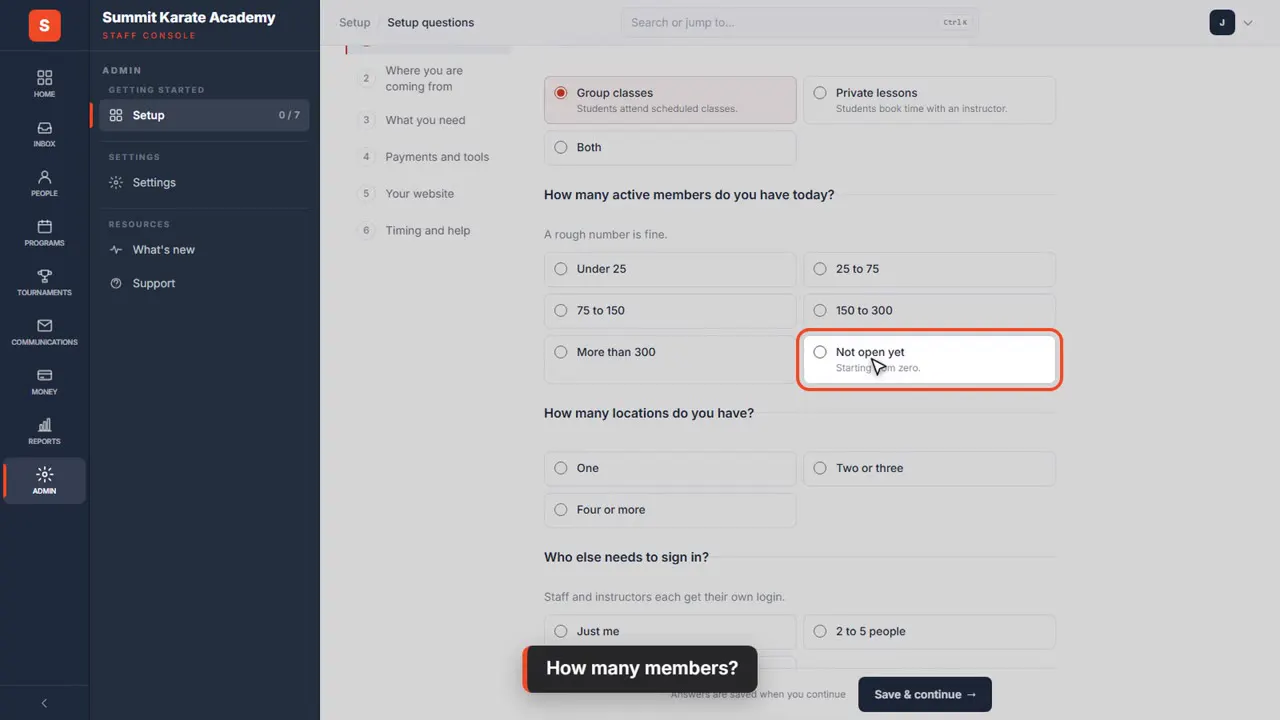
How many members?
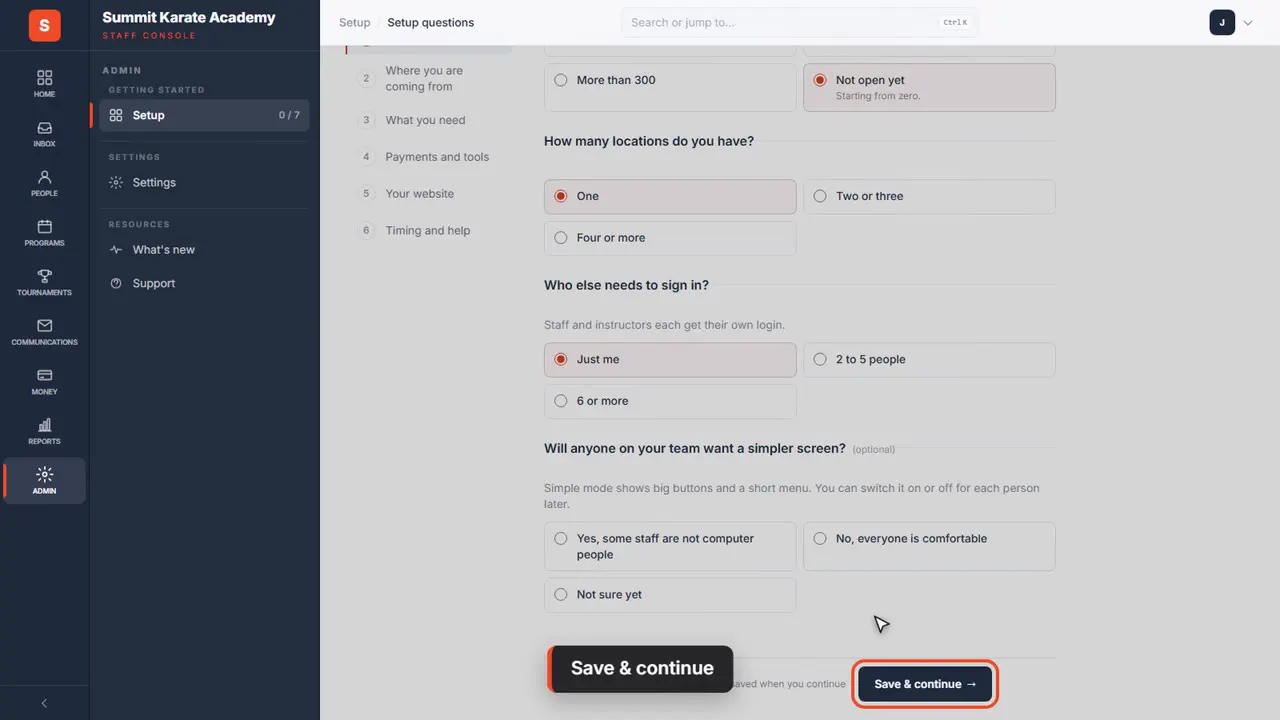
How many members you have. Summit isn't open yet.
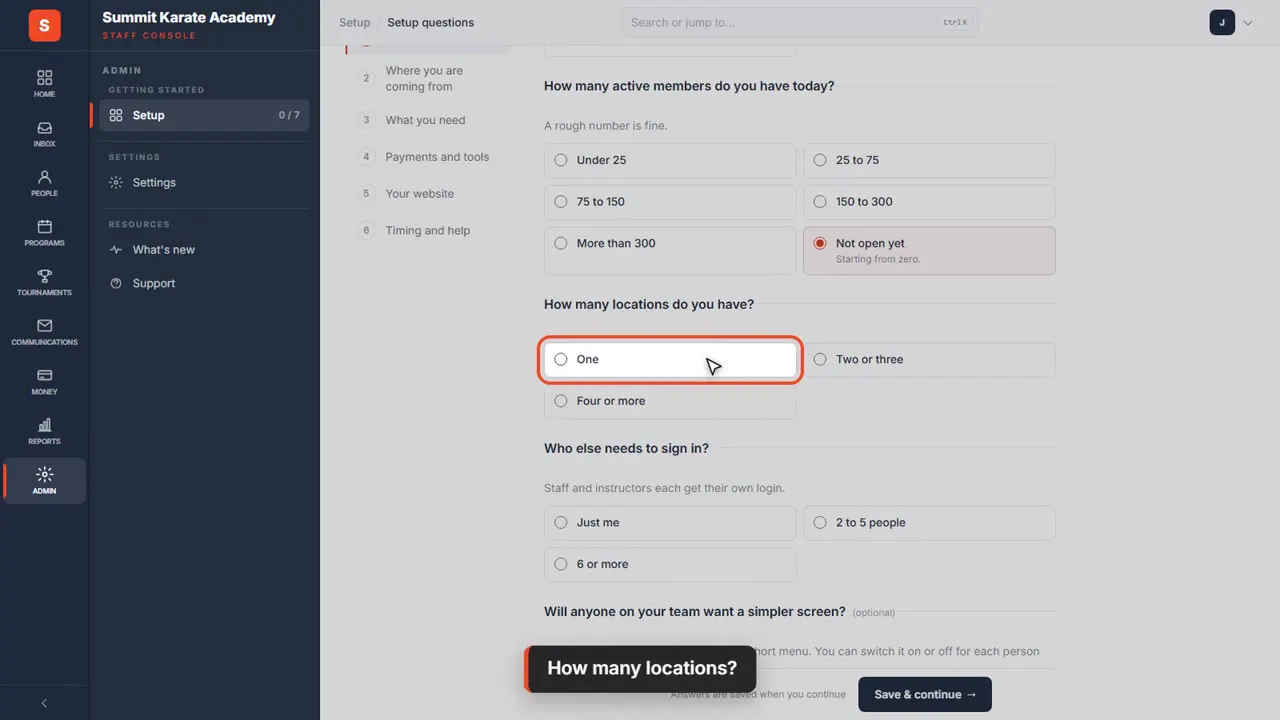
How many locations?
How many locations. Just the one.
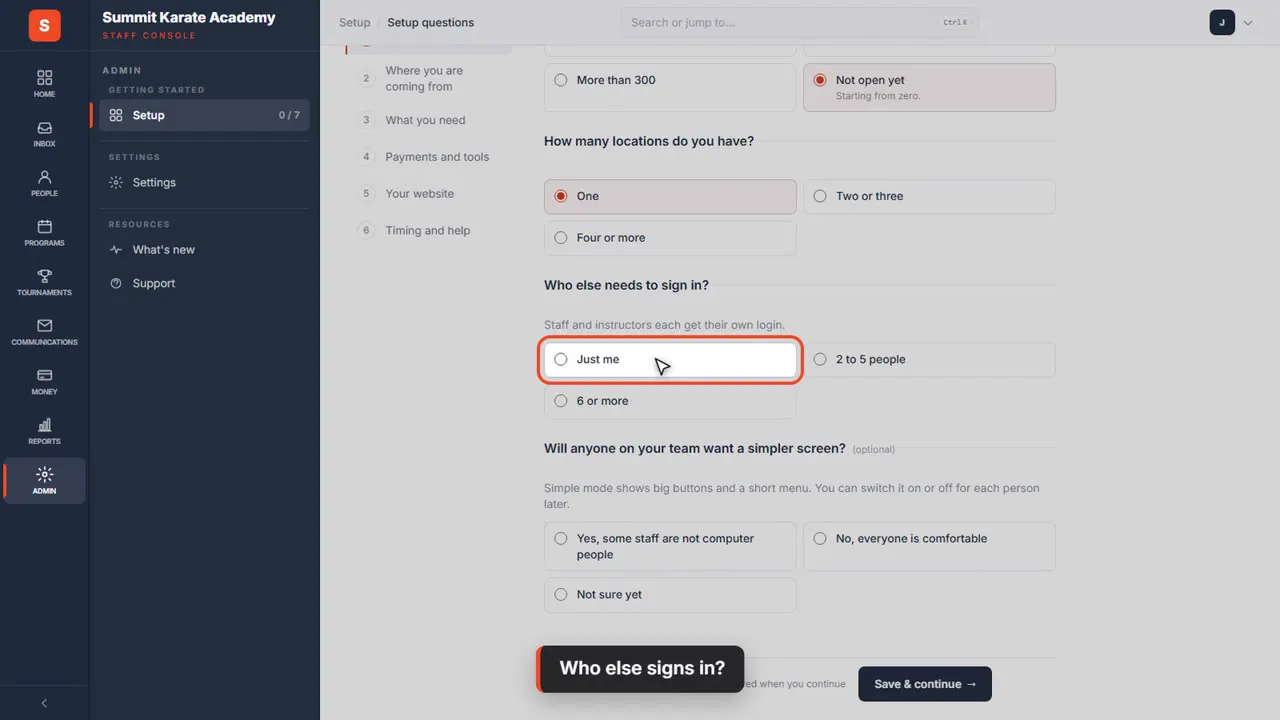
Who else signs in?
And who else signs in. For now, it's just the owner.
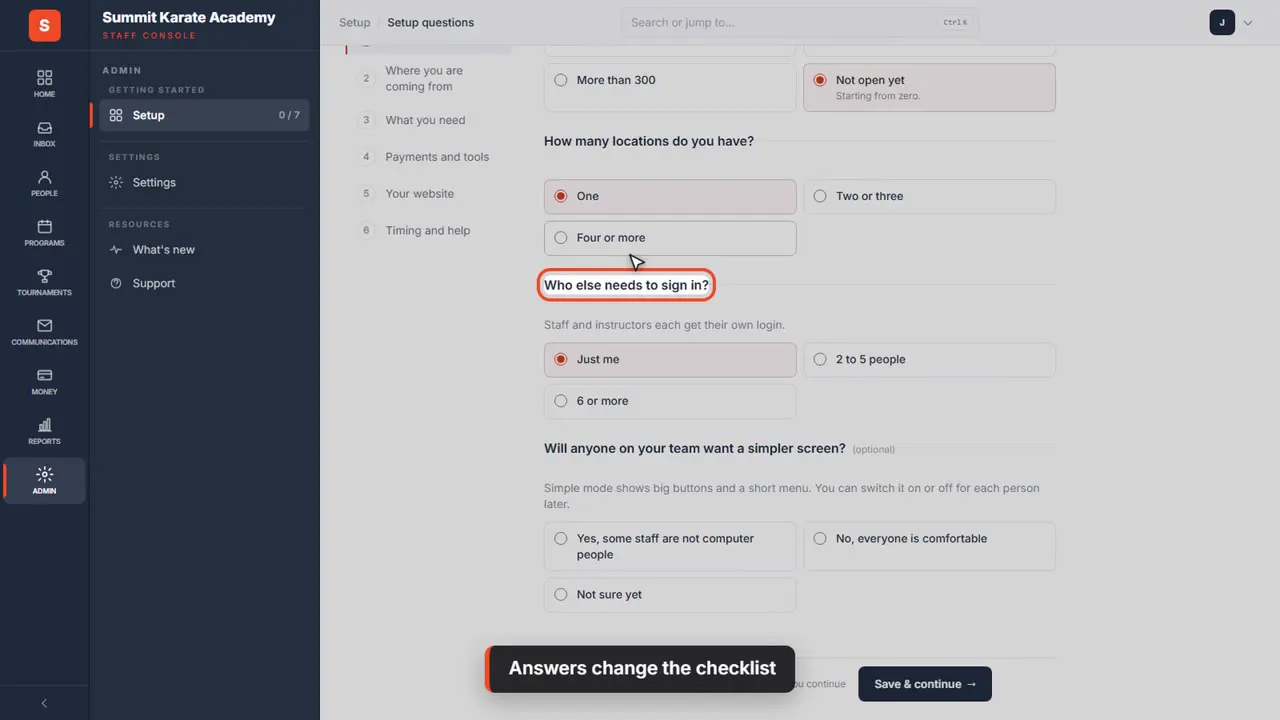
Answers change the checklist
These answers matter. With more than one location, adding your locations becomes required. With a team, so does inviting them.
Save & continue
Click Save and continue. Each section saves on its own, so you can stop and come back.
A look to match
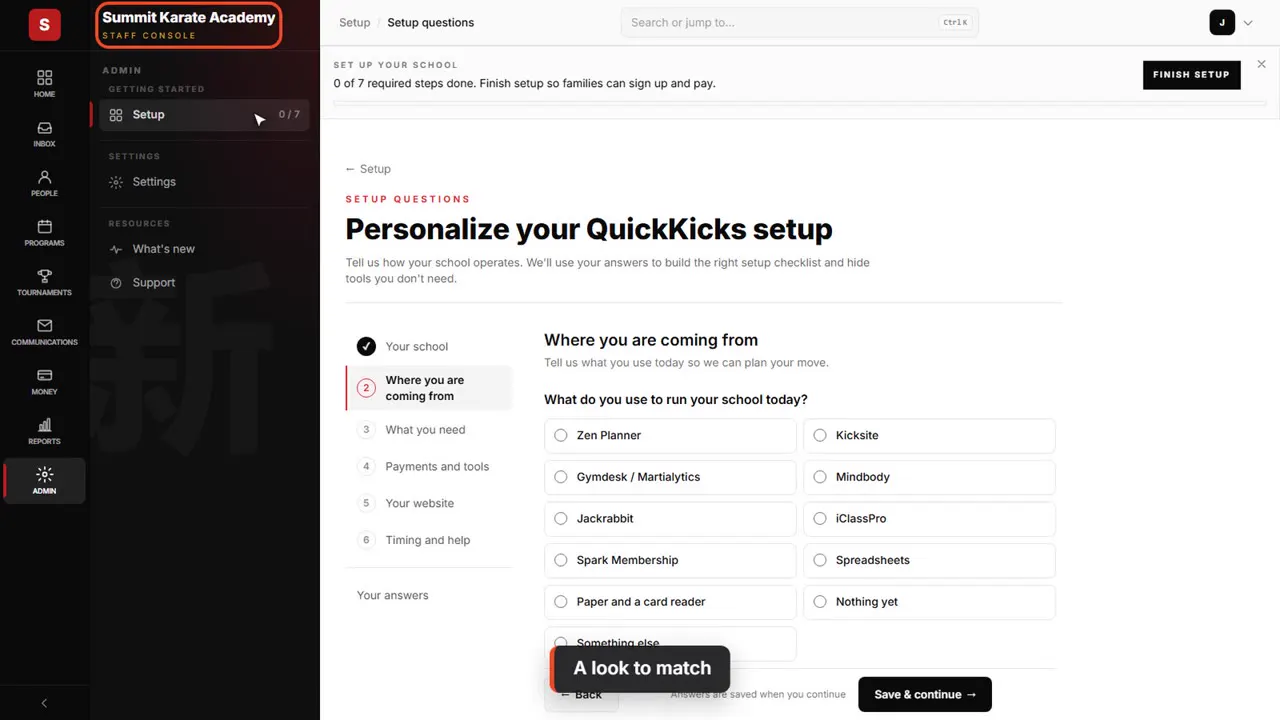
Notice the new look. Martial arts schools get a matching theme. You can change it any time under Theme.
The rest when you have a minute
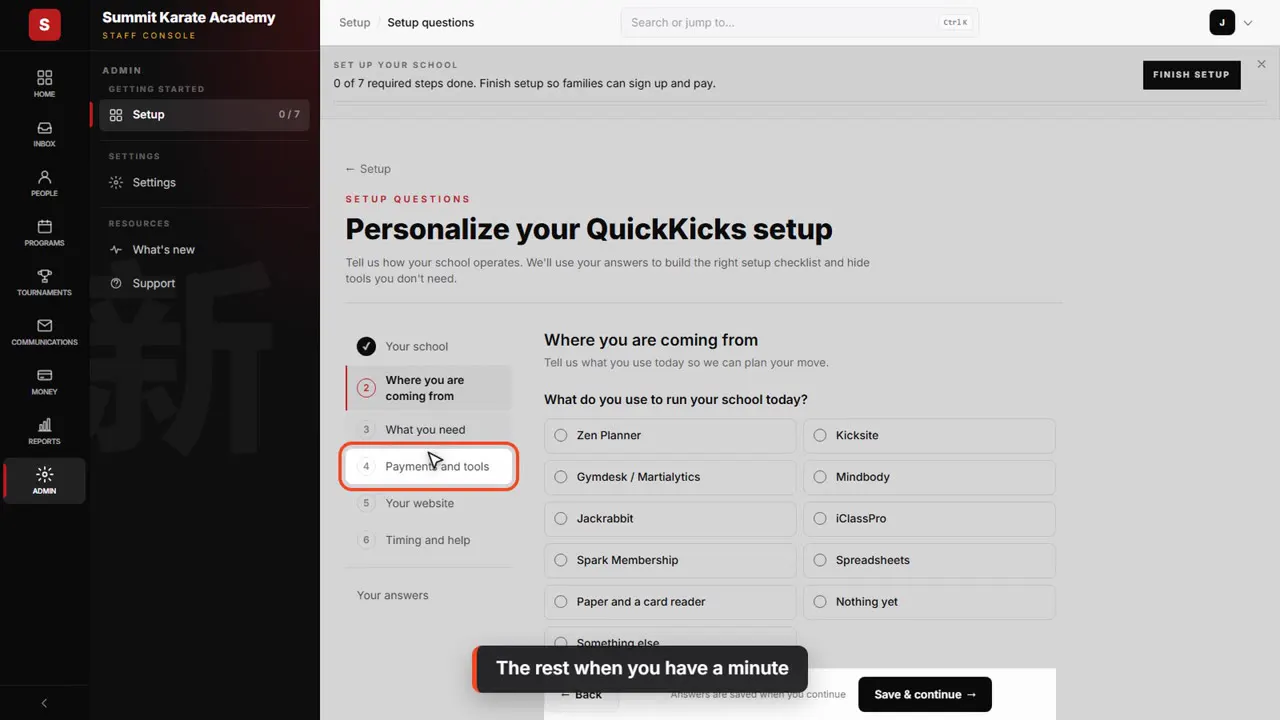
The other five cover the system you're leaving, what you need, payments, your website and timing. Moving from another system adds an import step. If you only take payment by hand, Stripe becomes optional.
The required steps
Required, in order
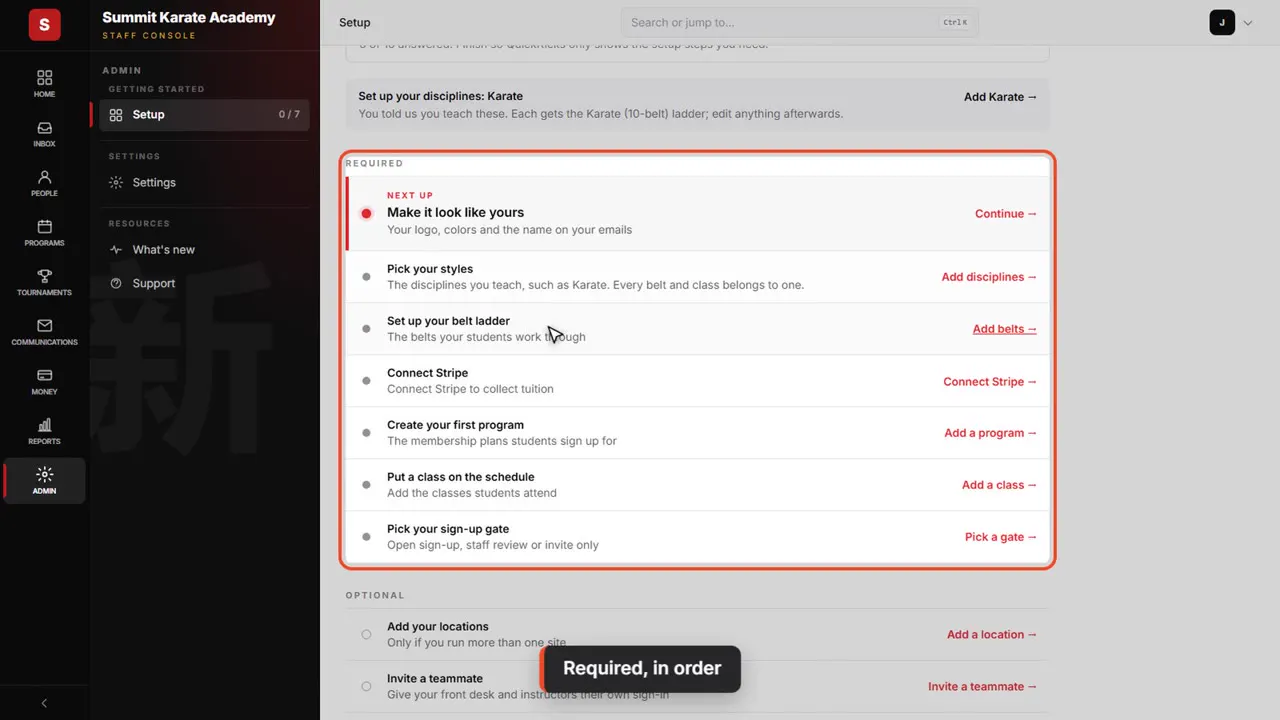
Back on Setup, the Required list is in the order to do them. Each row opens the page where it's done.
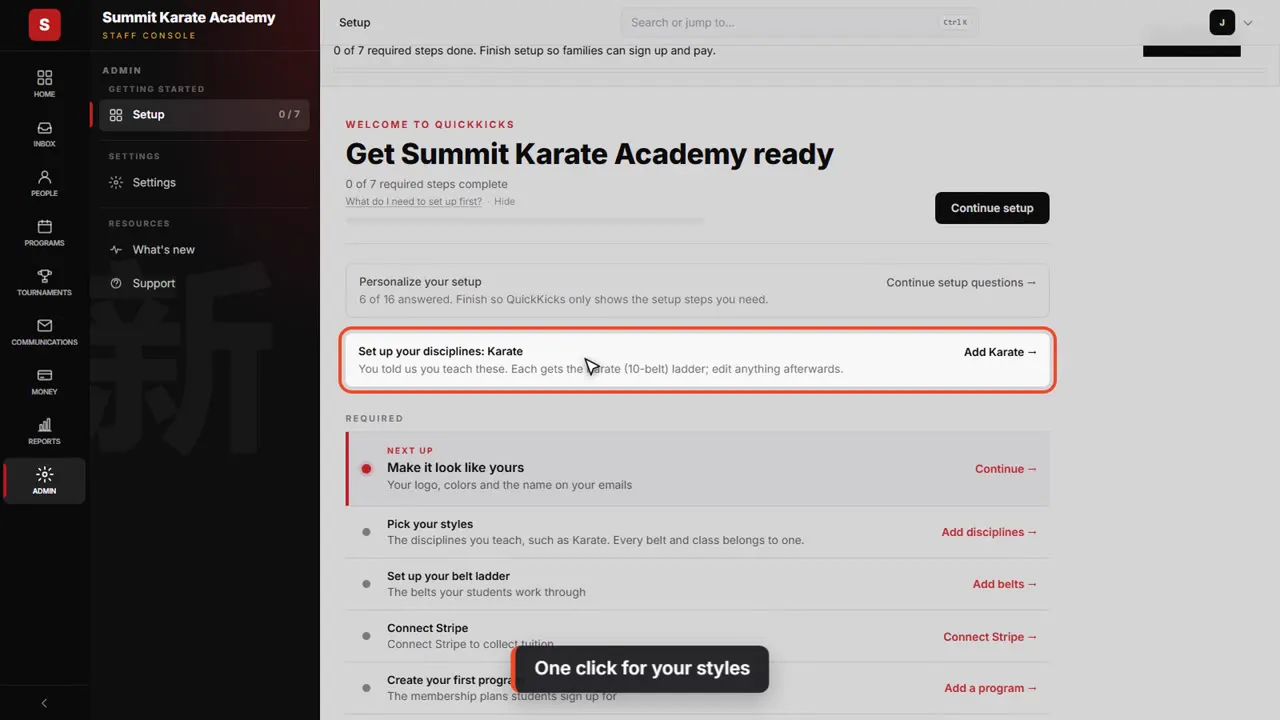
One click for your styles
Because you said you teach karate, Setup offers to add it for you, with a starter belt ladder. We'll go step by step instead.
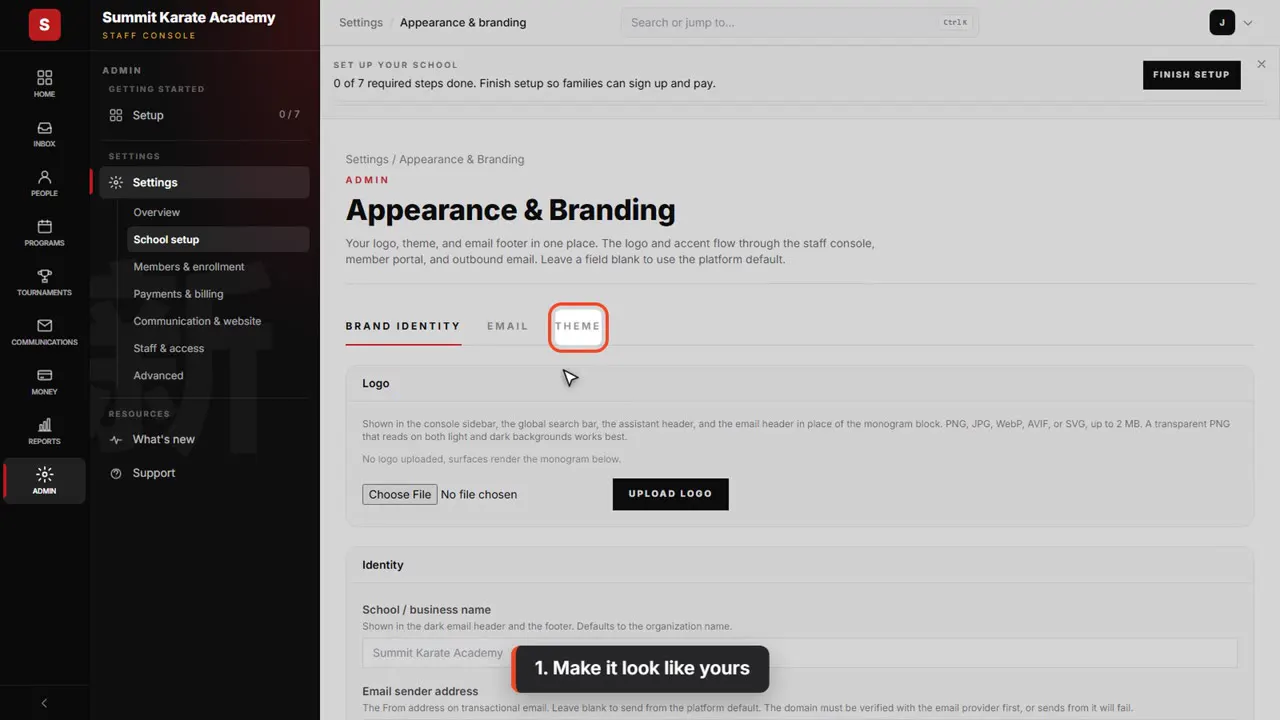
1. Make it look like yours
One: Make it look like yours. It opens Appearance and branding. Upload your logo here, set the name your emails come from, and under Theme, change the look.
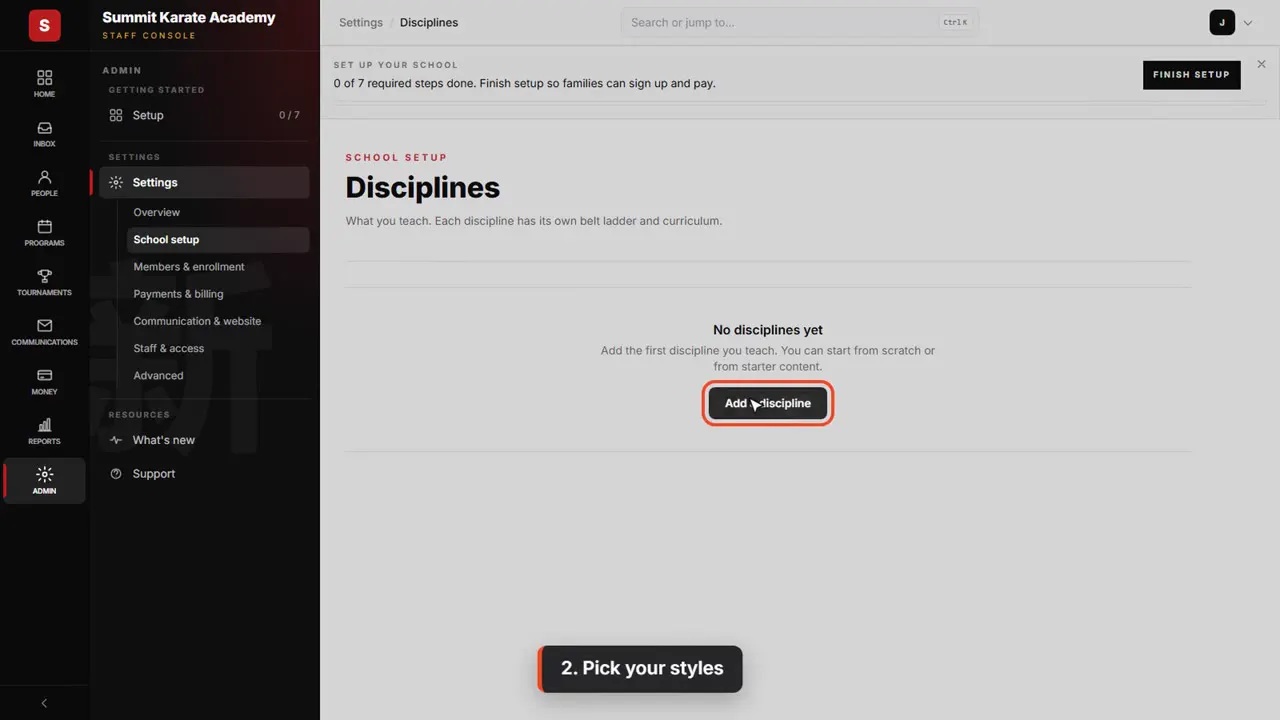
2. Pick your styles
Two: Pick your styles. This is where you add each discipline you teach, such as karate. Every belt and class belongs to one, so this comes first.
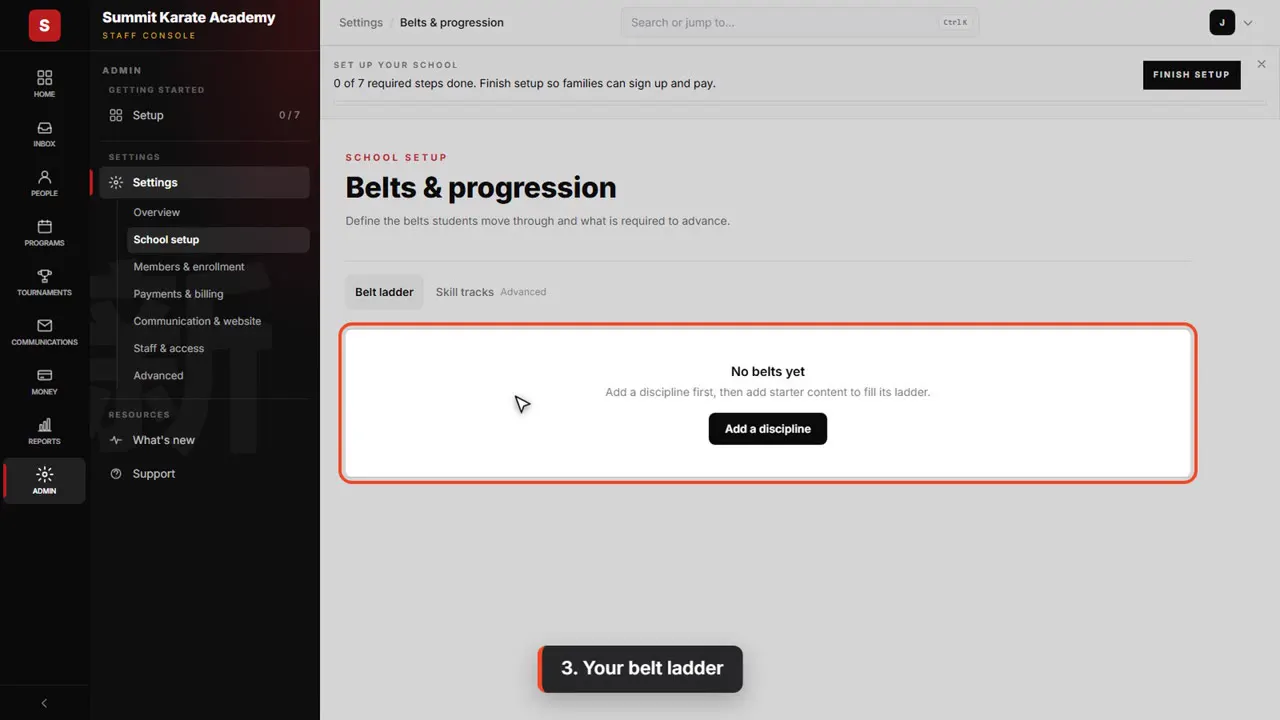
3. Your belt ladder
Three: your belt ladder. Once you have a discipline, starter content can fill the ladder in one go. Video four covers belts in detail.
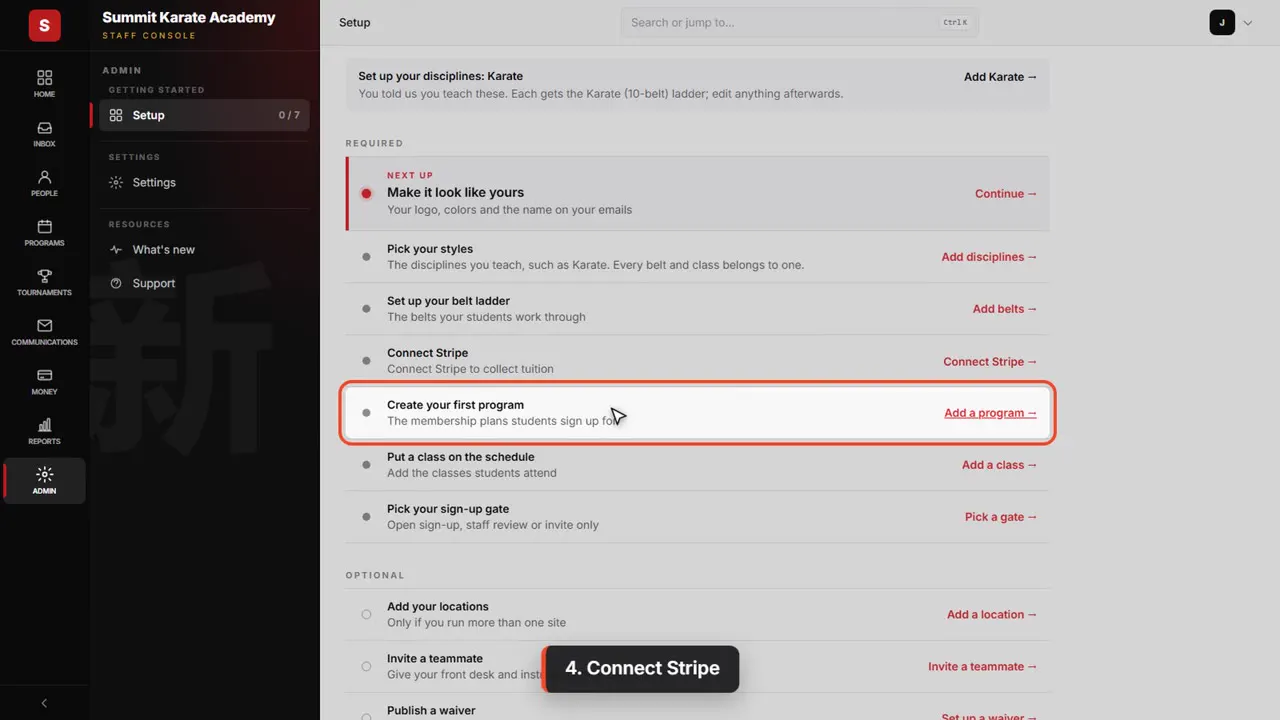
4. Connect Stripe
Four: Connect Stripe, so families can pay by card and the money reaches your bank. The button takes you to Stripe's own pages to set up your account. Do it before programs, so their prices are made on your account.
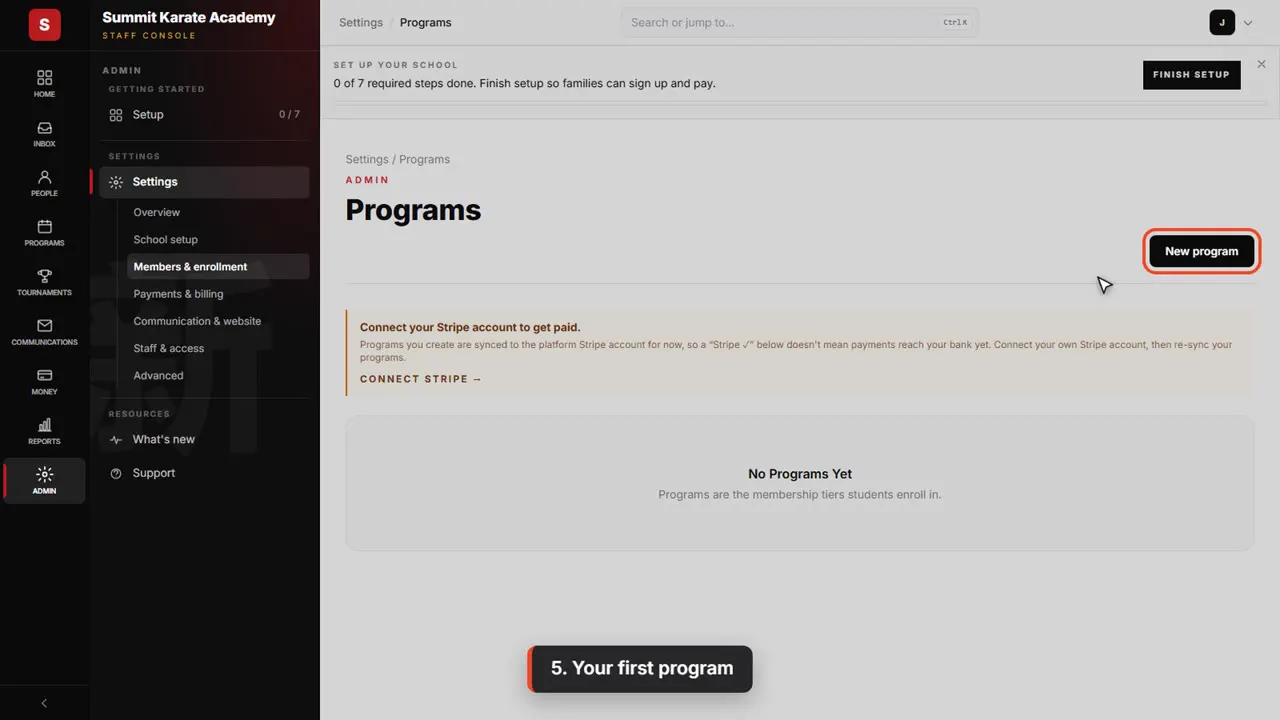
5. Your first program
Five: Create your first program. Programs are the membership plans families sign up for, with their prices. There is a video on programs.
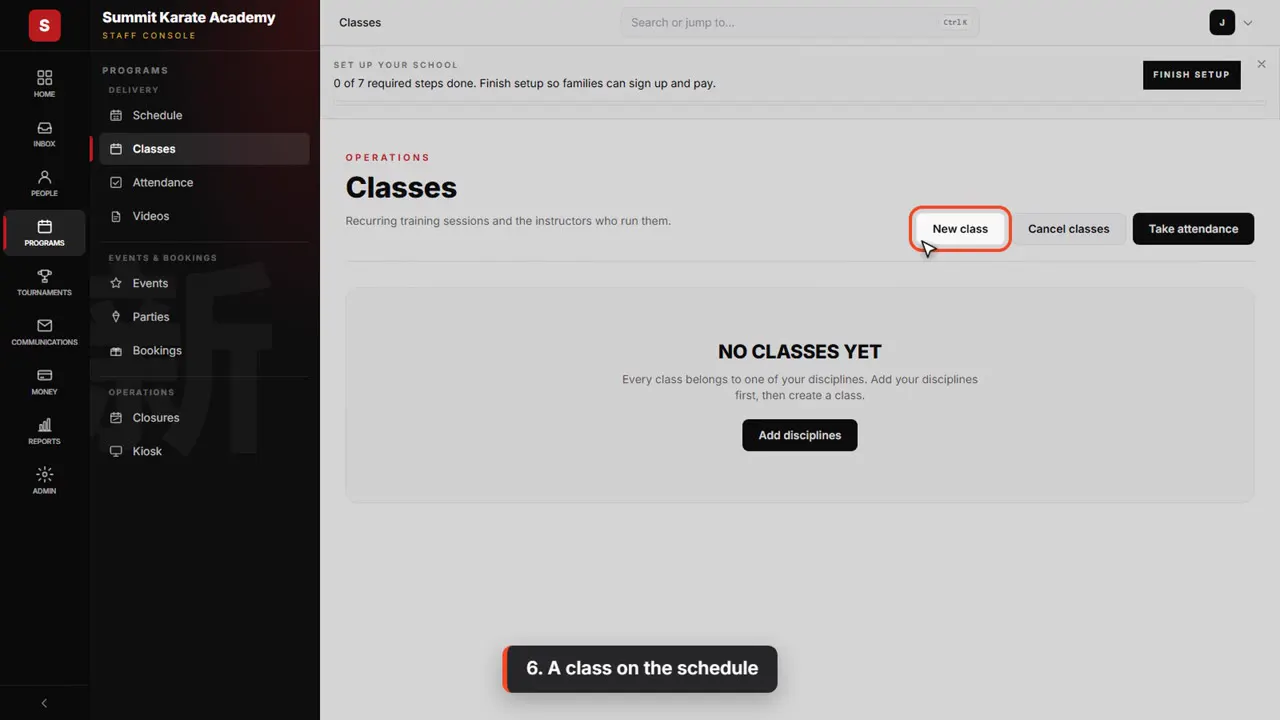
6. A class on the schedule
Six: Put a class on the schedule. Classes are what you take attendance in, and each belongs to a discipline. Click New class to add one.
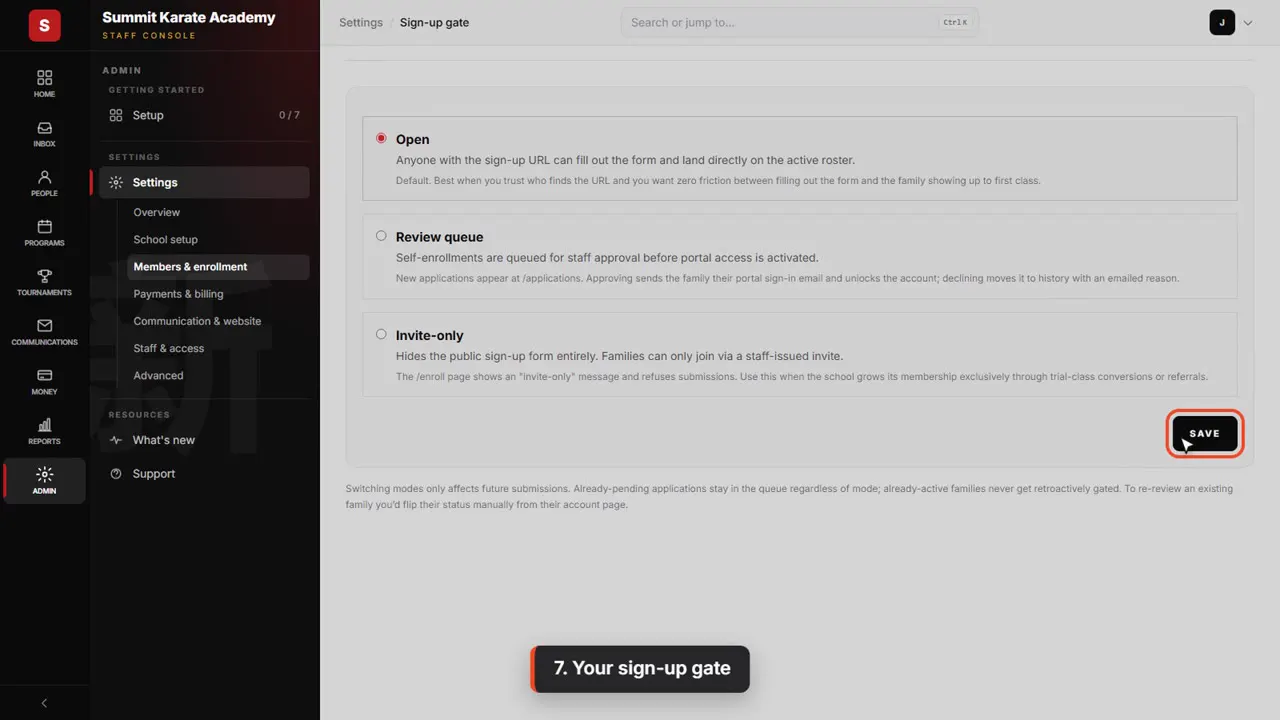
7. Your sign-up gate
Seven: Pick your sign-up gate. It decides how families join. Open lets anyone sign up. Review queue holds each family for you to approve. Invite-only hides the sign-up form. Even if Open suits you, click Save, so the step is ticked.
Optional steps
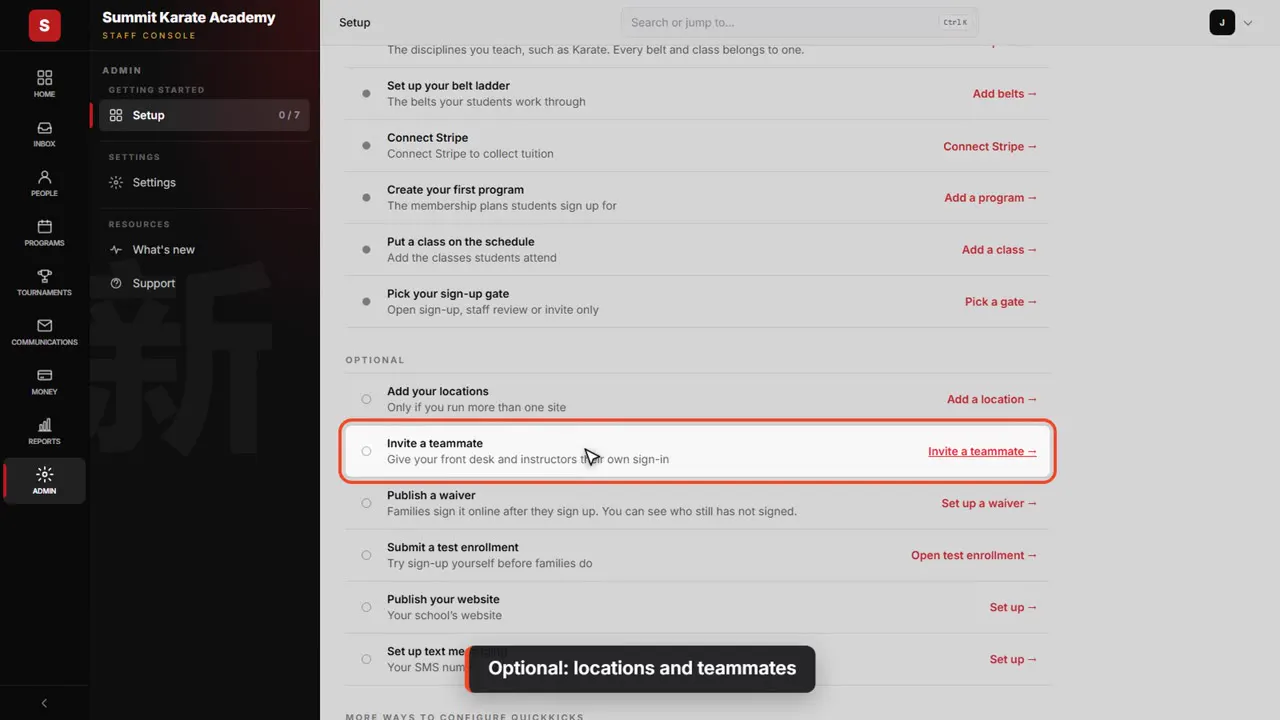
Optional: locations and teammates
The optional steps can wait. Add your locations only if you run more than one site. Invite a teammate gives your front desk and instructors their own sign-in.
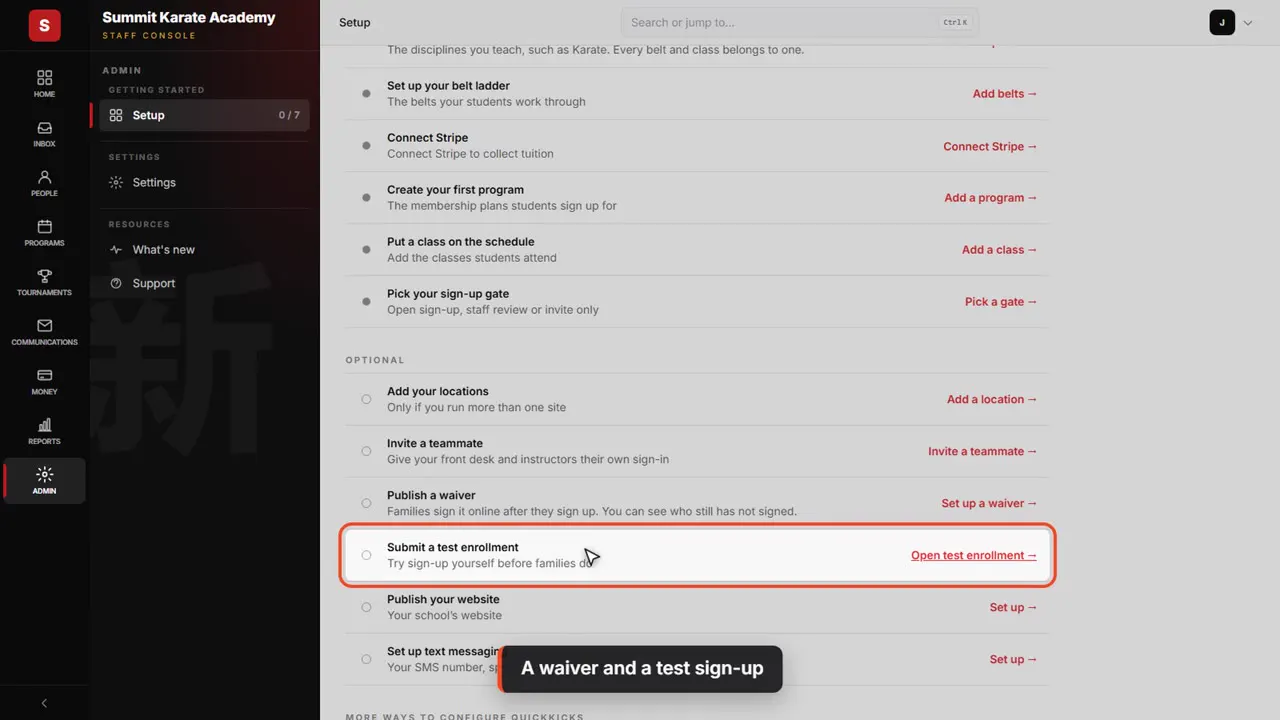
A waiver and a test sign-up
Publish a waiver, and families are asked to sign it after they sign up. Submit a test enrollment opens the sign-up form with test details filled in, so you can try it before families do.
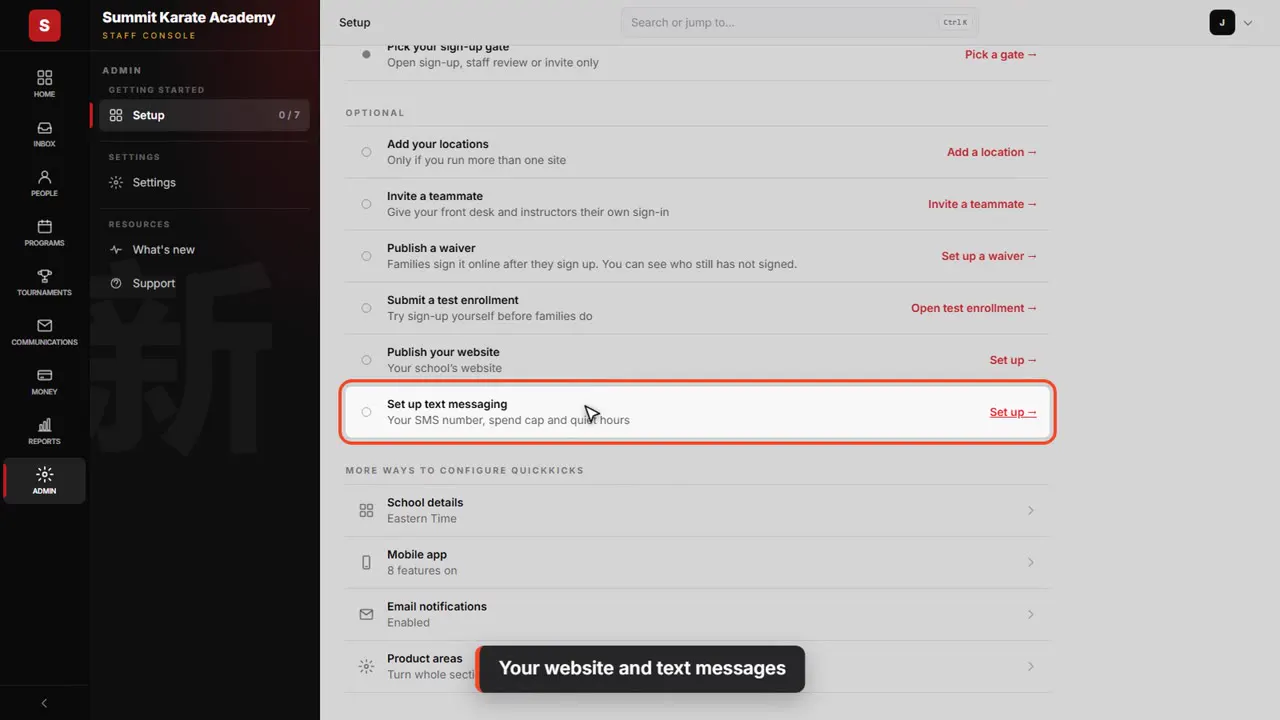
Your website and text messages
Publish your website and Set up text messaging are here too.
More ways to configure
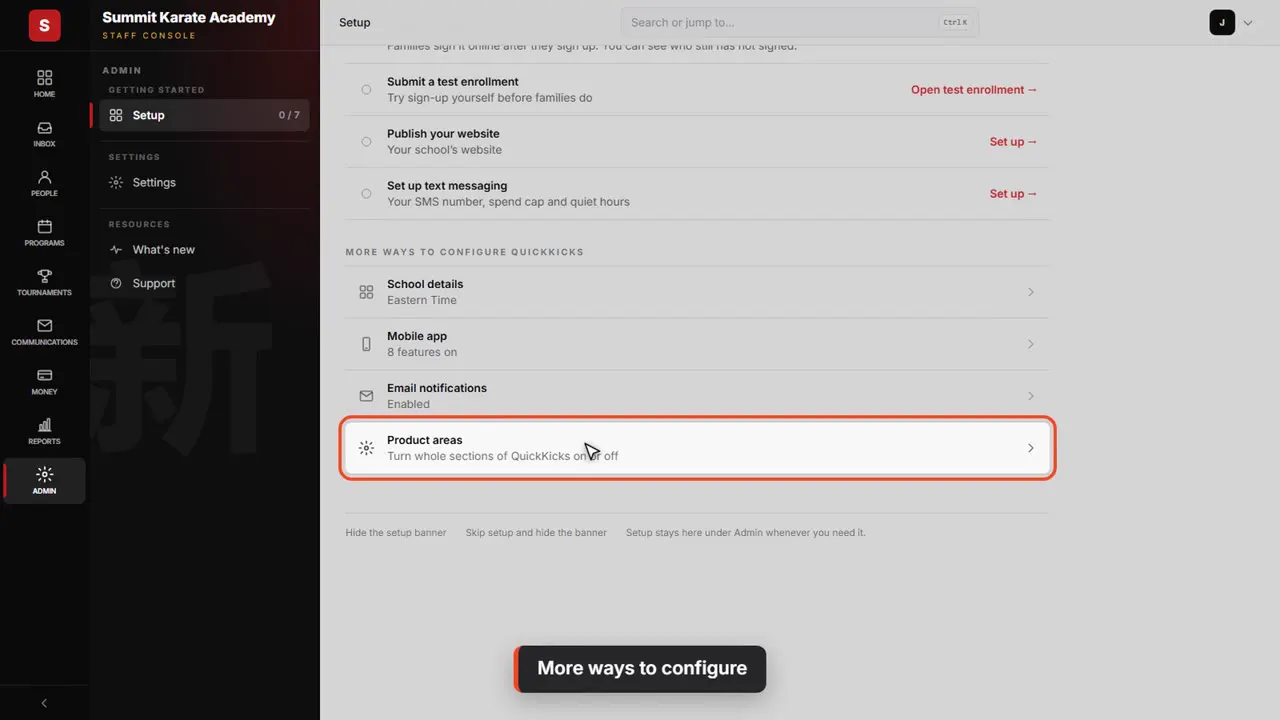
More ways to configure
Below that: your school details, like the time zone; the parent app's features; email notifications; and Product areas, to turn whole sections of QuickKicks on or off.
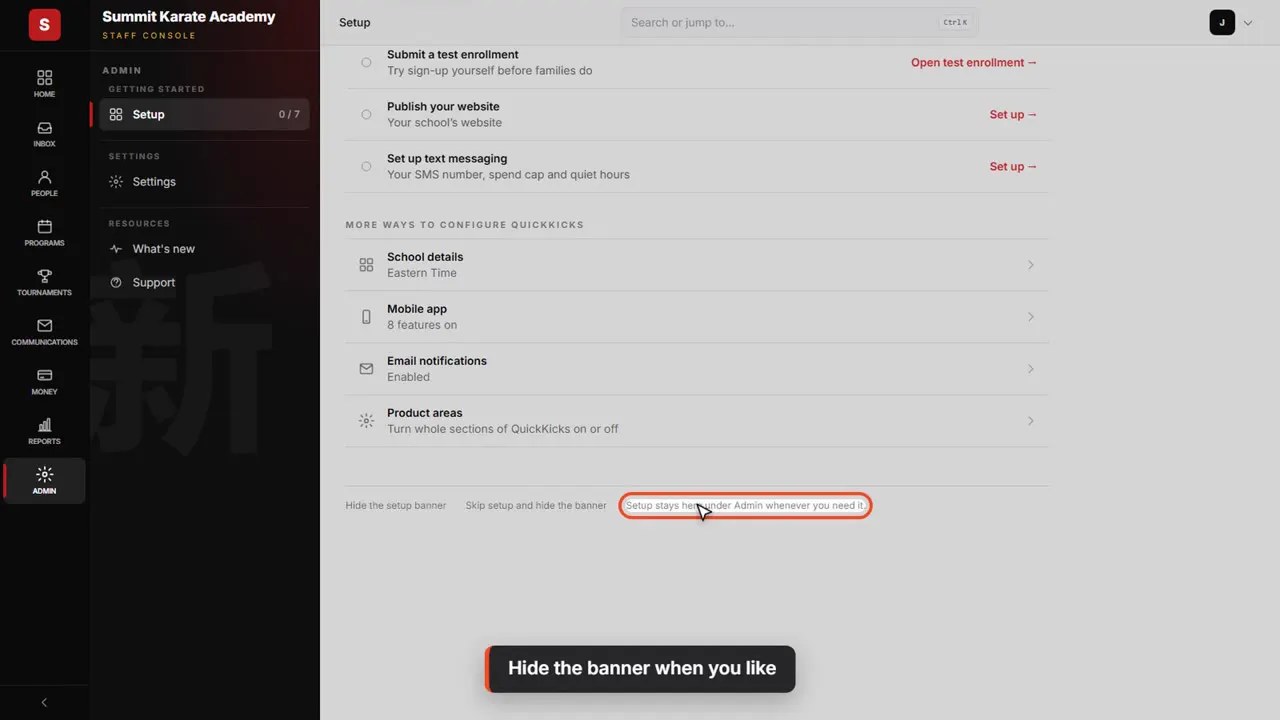
Hide the banner when you like
Want the banner gone? Hide the setup banner, or skip setup altogether. Setup stays here under Admin either way.
Shown with a demo school. Your screens show your own school, and may look a little different.
Read the whole video as text
This video walks you through setting up your school in QuickKicks. You don't have to do it all in one sitting. The checklist keeps track of what's done.
Setup lives under Admin. Click Admin, then Setup. The number beside it counts the required steps you've finished.
At the top, how many required steps are done. Continue setup always opens the next one.
Until setup is finished, this banner sits across the top of every page. Finish setup brings you back here.
Start with the setup questions. Your answers decide which steps you need, so the checklist only shows those.
There are six short sections. We'll answer the first one, Your school.
What do you teach? Martial arts. That sets the words QuickKicks uses everywhere: belts, students and disciplines.
Then which arts you teach. Summit teaches karate.
Next, how you teach. Summit runs group classes.
How many members you have. Summit isn't open yet.
How many locations. Just the one.
And who else signs in. For now, it's just the owner.
These answers matter. With more than one location, adding your locations becomes required. With a team, so does inviting them.
Click Save and continue. Each section saves on its own, so you can stop and come back.
Notice the new look. Martial arts schools get a matching theme. You can change it any time under Theme.
The other five cover the system you're leaving, what you need, payments, your website and timing. Moving from another system adds an import step. If you only take payment by hand, Stripe becomes optional.
Back on Setup, the Required list is in the order to do them. Each row opens the page where it's done.
Because you said you teach karate, Setup offers to add it for you, with a starter belt ladder. We'll go step by step instead.
One: Make it look like yours. It opens Appearance and branding. Upload your logo here, set the name your emails come from, and under Theme, change the look.
Two: Pick your styles. This is where you add each discipline you teach, such as karate. Every belt and class belongs to one, so this comes first.
Three: your belt ladder. Once you have a discipline, starter content can fill the ladder in one go. Video four covers belts in detail.
Four: Connect Stripe, so families can pay by card and the money reaches your bank. The button takes you to Stripe's own pages to set up your account. Do it before programs, so their prices are made on your account.
Five: Create your first program. Programs are the membership plans families sign up for, with their prices. There is a video on programs.
Six: Put a class on the schedule. Classes are what you take attendance in, and each belongs to a discipline. Click New class to add one.
Seven: Pick your sign-up gate. It decides how families join. Open lets anyone sign up. Review queue holds each family for you to approve. Invite-only hides the sign-up form. Even if Open suits you, click Save, so the step is ticked.
The optional steps can wait. Add your locations only if you run more than one site. Invite a teammate gives your front desk and instructors their own sign-in.
Publish a waiver, and families are asked to sign it after they sign up. Submit a test enrollment opens the sign-up form with test details filled in, so you can try it before families do.
Publish your website and Set up text messaging are here too.
Below that: your school details, like the time zone; the parent app's features; email notifications; and Product areas, to turn whole sections of QuickKicks on or off.
Want the banner gone? Hide the setup banner, or skip setup altogether. Setup stays here under Admin either way.
That's setup. Next, we'll build your belt ladder.
Up next · Set up your school
Set up your belts
Start your belt ladder from ready-made belts, put them in order, and add a belt with what it takes to earn it.
Watch next: Set up your beltsStuck?
In QuickKicks, open Admin, then Support (or Help, in the simpler menu), and send us a message. Or email hello@quickkicks.app.